Enchanting Origami Hearts With Step By Step Instructions
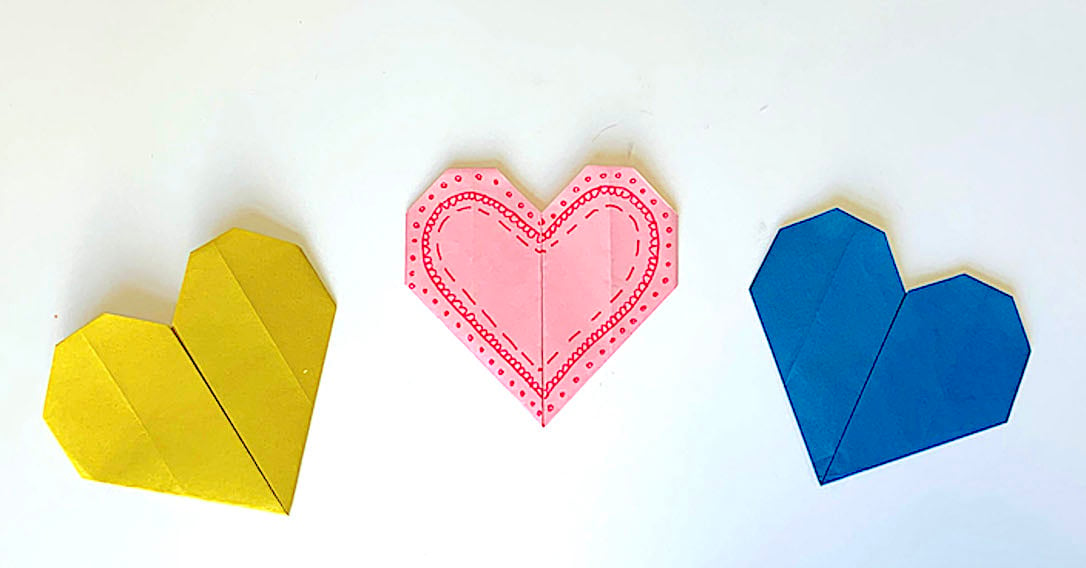
Follow our step by step instructions to learn how to make easy origami hearts that your kids will love to make and display!
ORIGAMI HEARTS - Why paper folding is super trendy
It’s believed that origami was founded almost a thousand years ago in Japan. The word origami comes from two Japanese words: Ori (folded) and Kami (paper).
Origami comes in many different forms and is often shaped as animals! One legend even says that if you make a thousand origami cranes then you will be granted a wish!
However, a thousand paper cranes sounds awfully fiddly and like a lot of hard work! So, we tried making some simpler origami shapes that are easy for kids to master and enjoy. These easy origami hearts and step by step instructions show your child how to make their very own origami heart to display and decorate.
Origami is great for developing children’s fine motor skills and following instructions helps to improve their reading and language skills. Origami can be tricky at first, so be sure to remind your child that practise makes perfect! Even if it is difficult to begin with, their efforts will soon produce pretty paper shapes that they can proudly share with (and show off to) friends and family!
If the hearts are still a bit difficult how about starting with our origami boat.
Origami hearts are great for decorating greetings cards and sticking on bedroom walls, they’re also lots of fun to pop into party bags or stick to gift wrap. They make sweet handmade gifts for Valentine’s Day too! You can also combine them with our origami flowers. The easy to follow instructions for those are just a click away.
How To Make An Easy Origami Heart?
Making an origami heart is easy, all you need is a square of paper and a little bit of patience.
Take a square of pink or red paper and follow our origami heart step by step instructions…
Let's Make An Easy Origami Heart!
You Will Need
- A square of red or pink paper
How To Make An Easy Origami Heart, Step By Step Instructions:
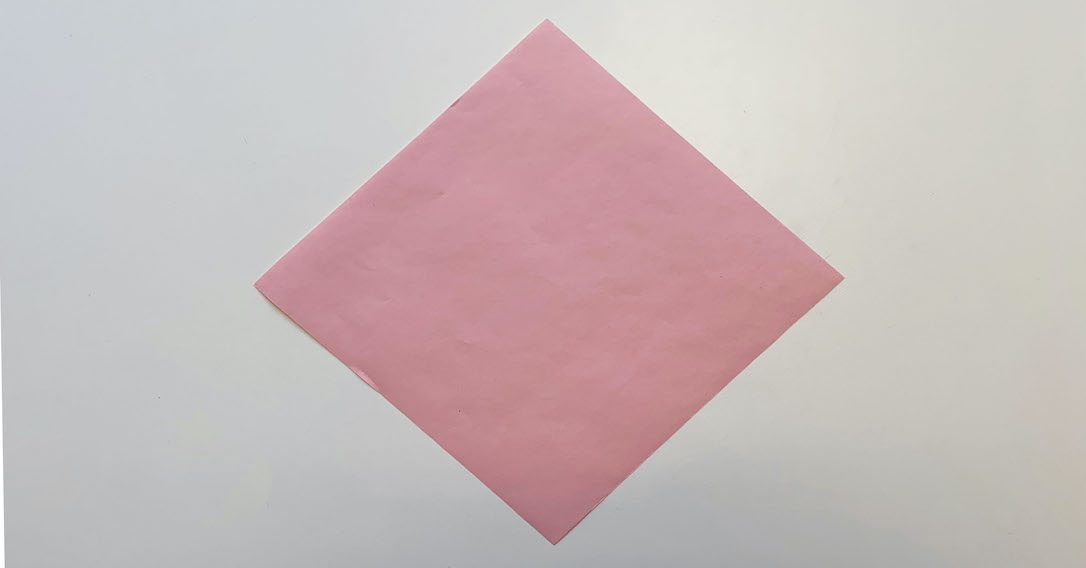
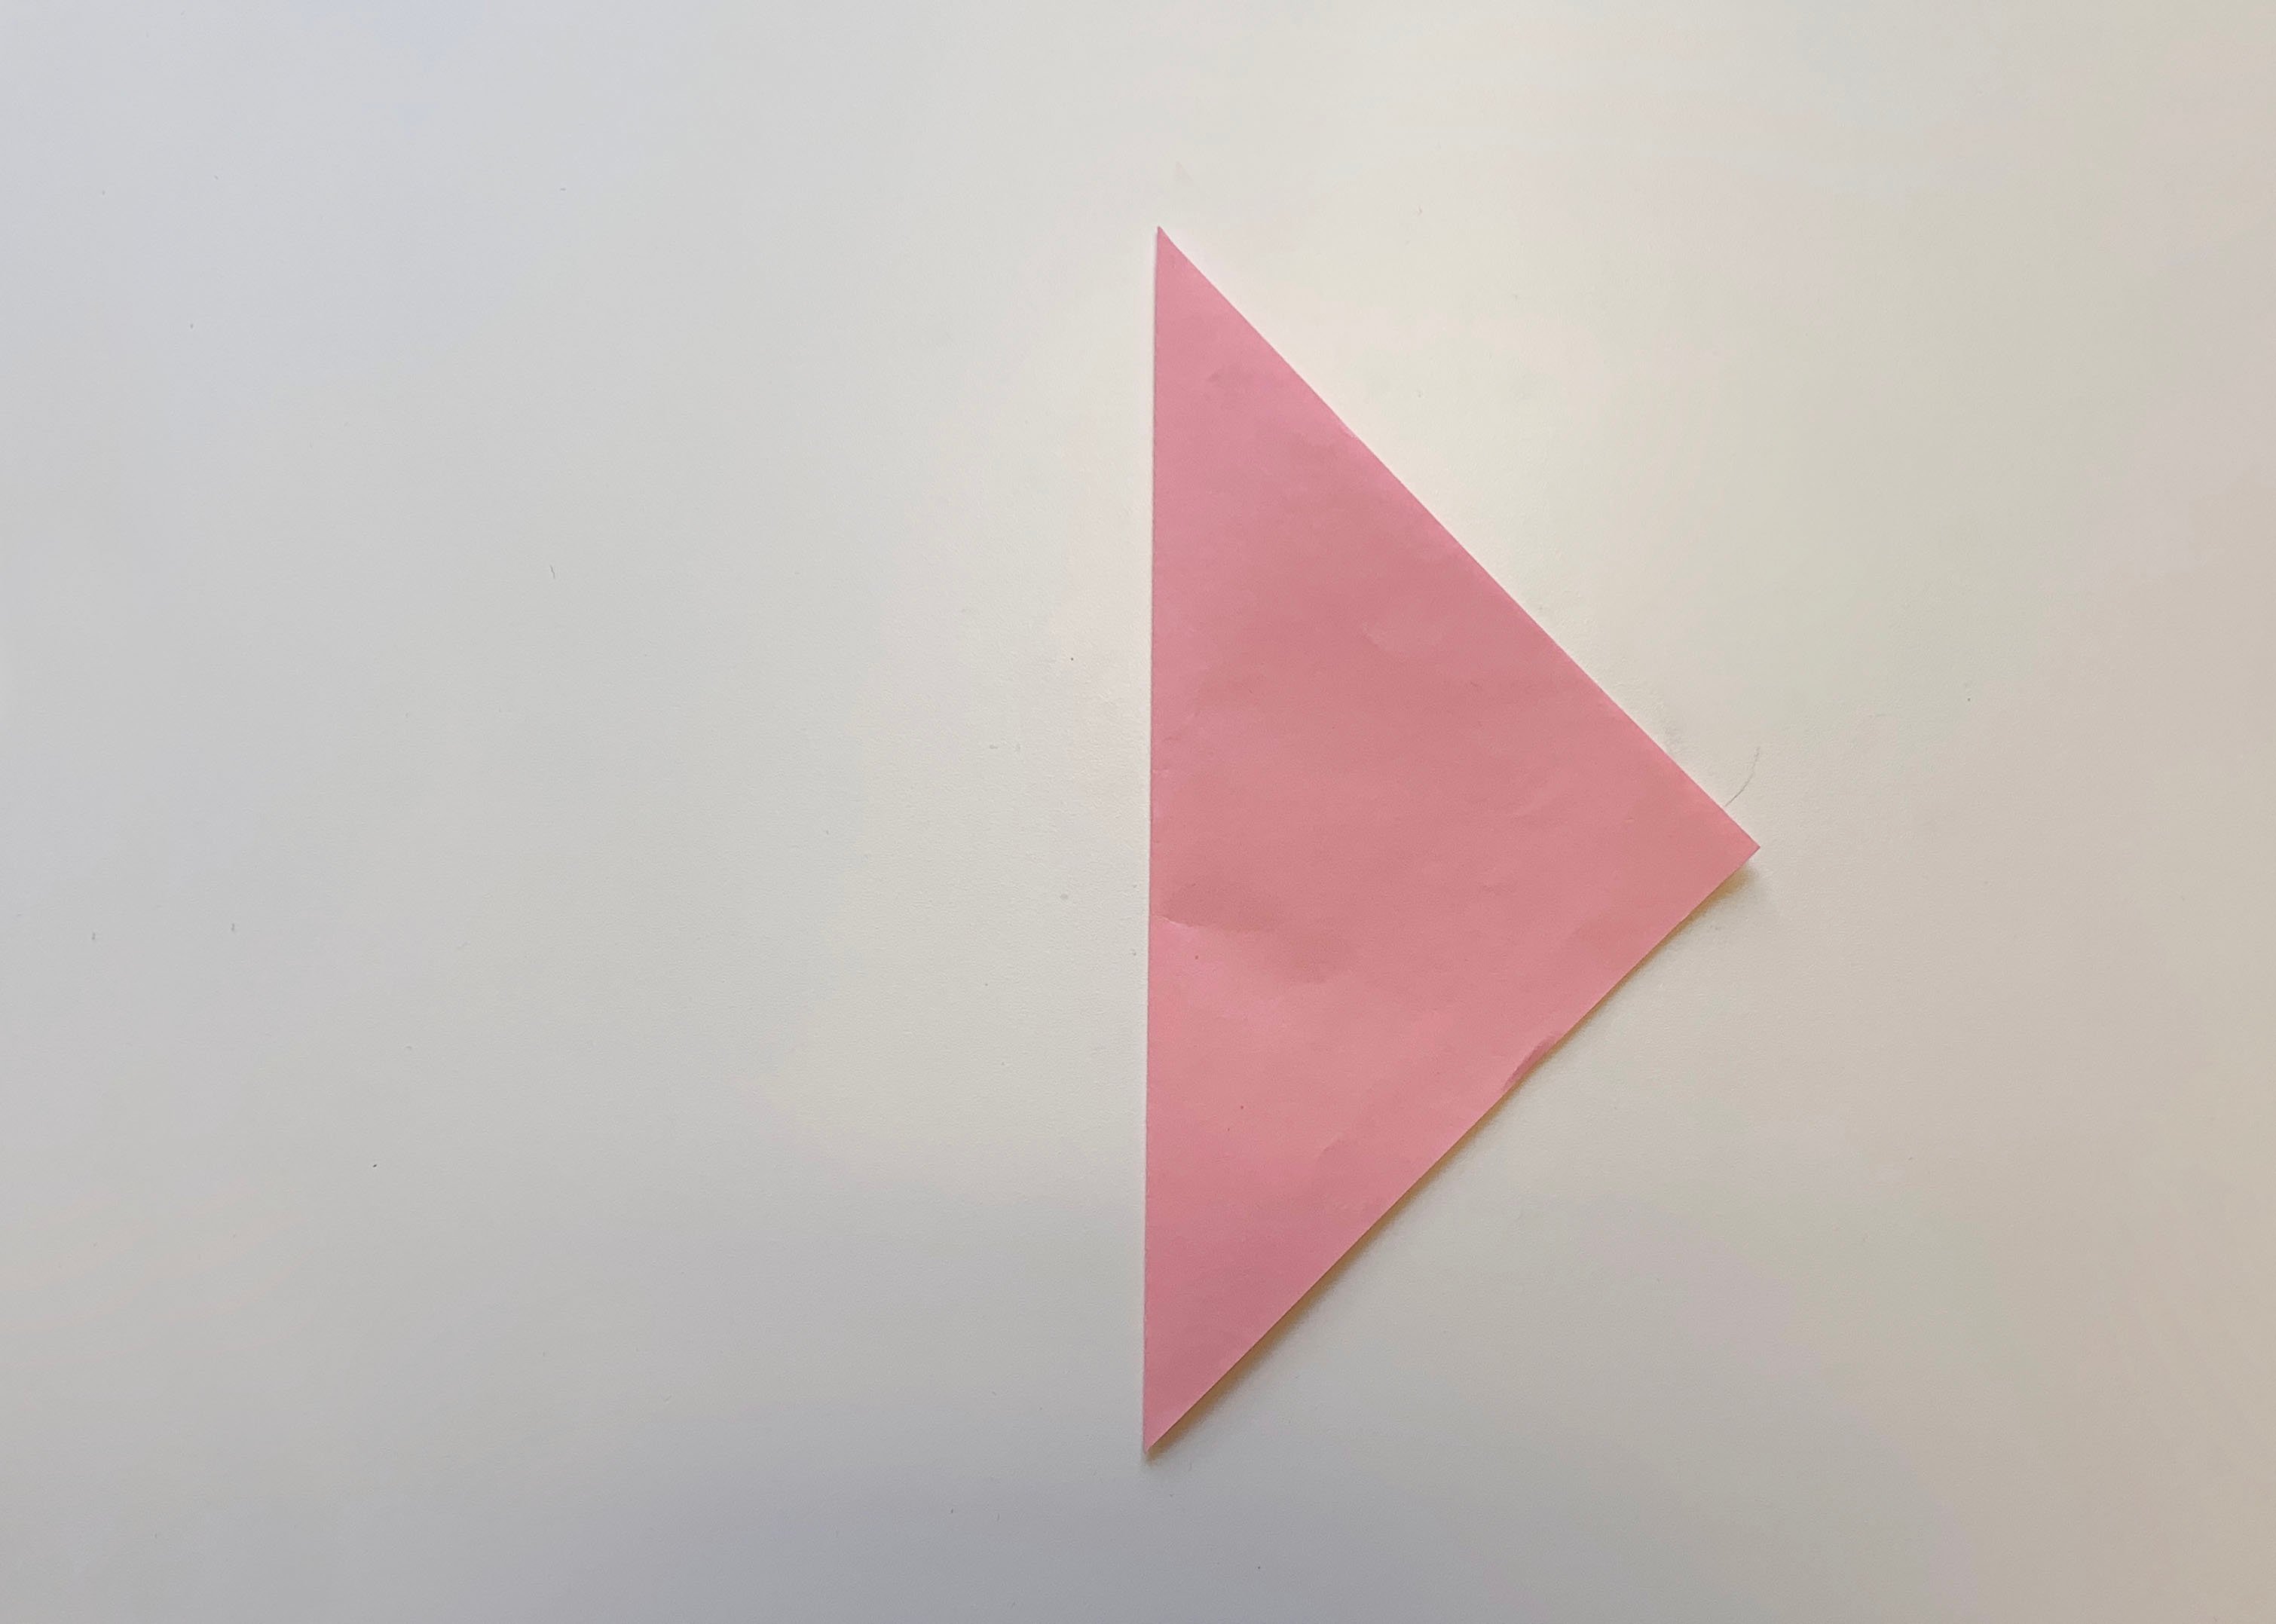
1 Place the square to look like a diamond. Then, fold the square lengthways and unfold.
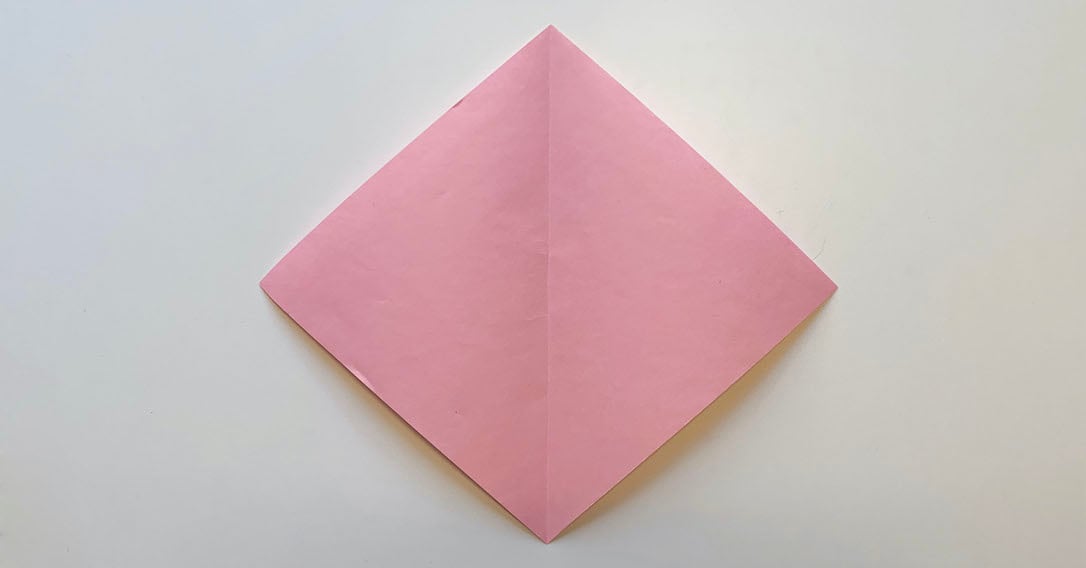
2 Fold the square widthways and unfold.
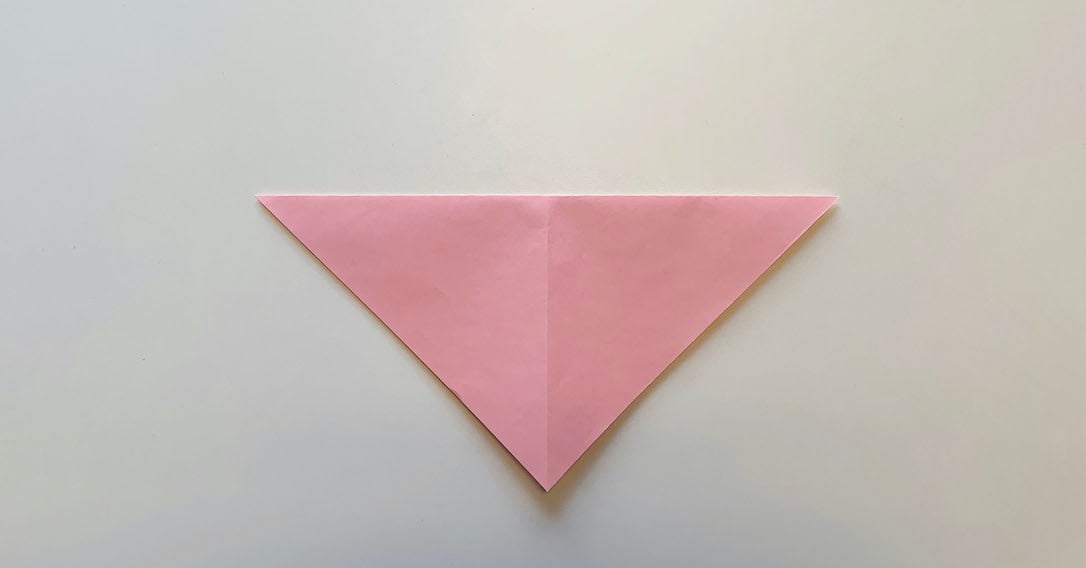
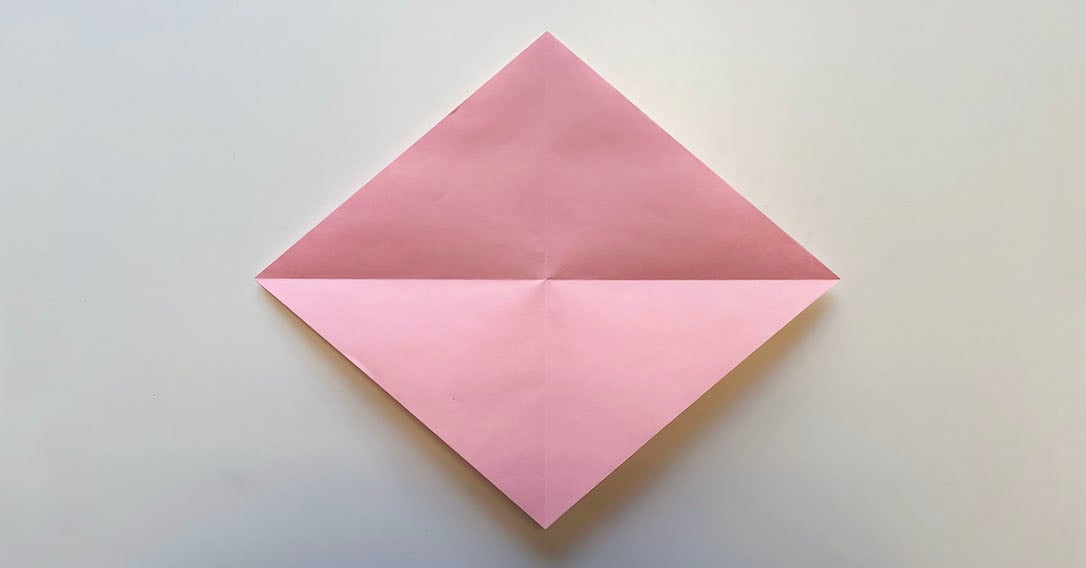
3 Fold the top corner into the centre.
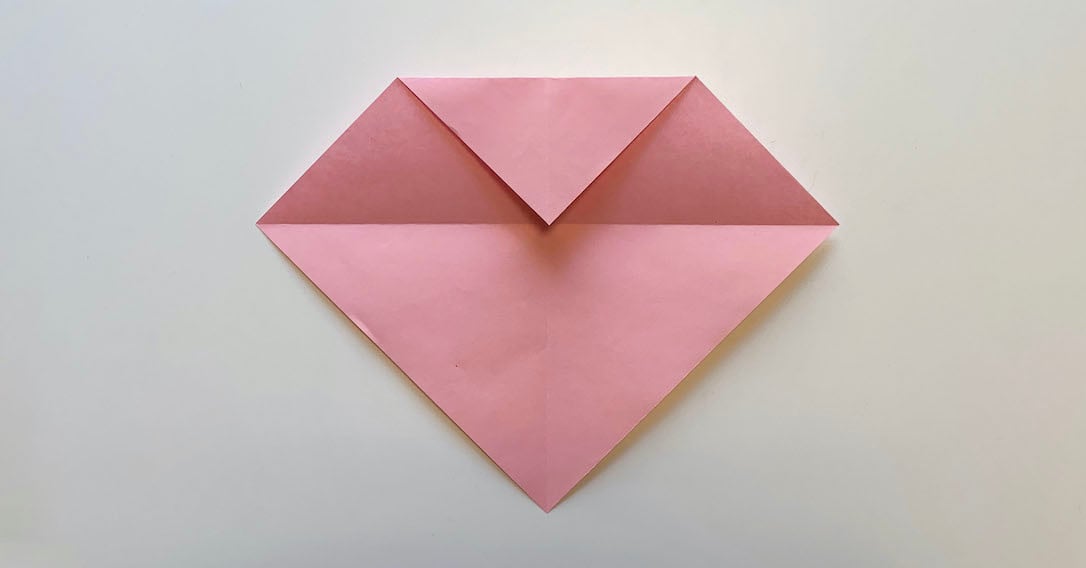
4 Fold the bottom corner to the top edge.
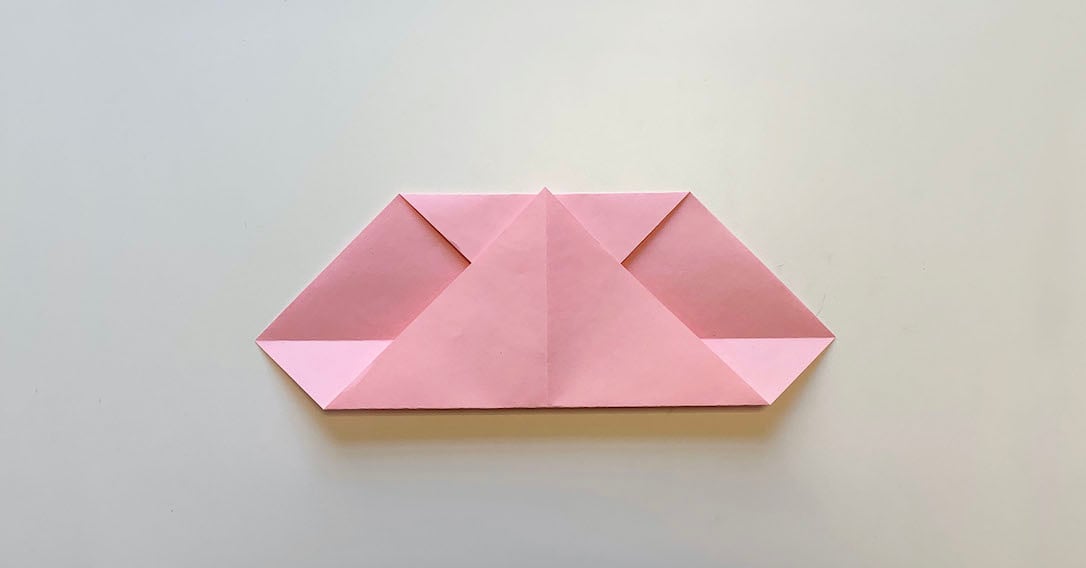
5 Fold the left and right edges into the centre.
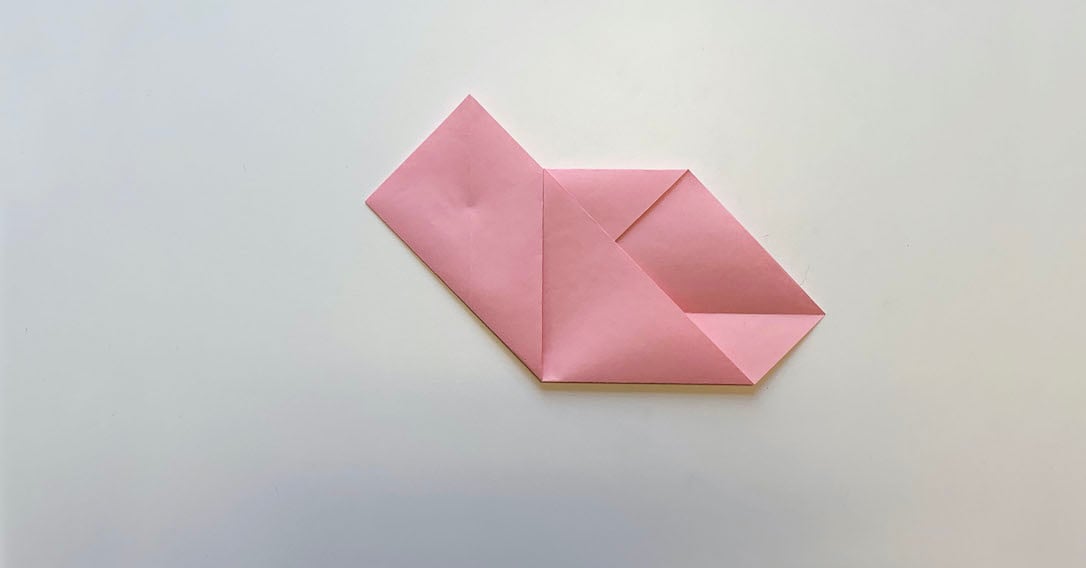
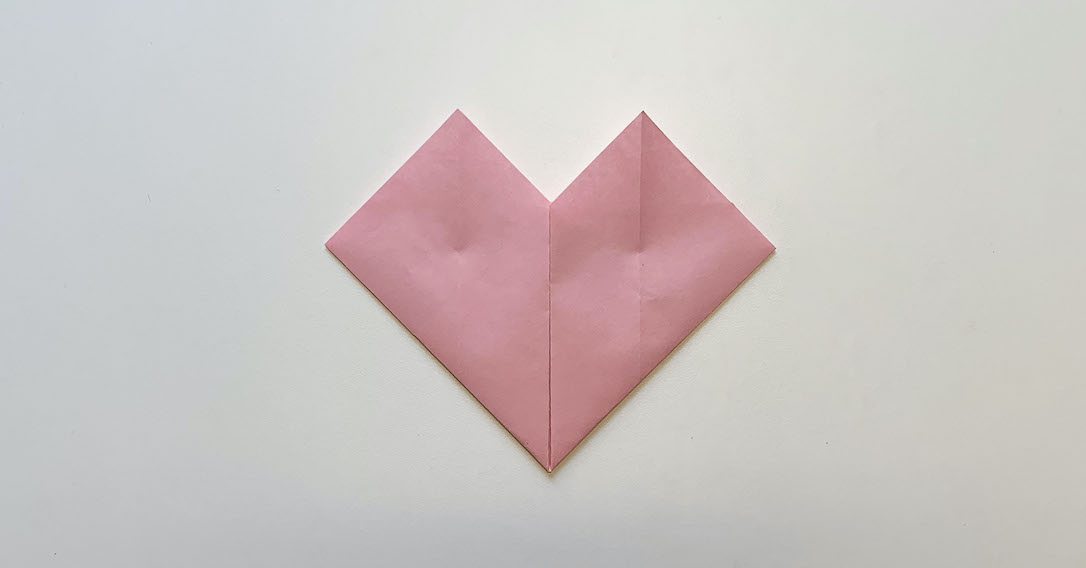
6 Flip your paper over and fold back the top and side points.
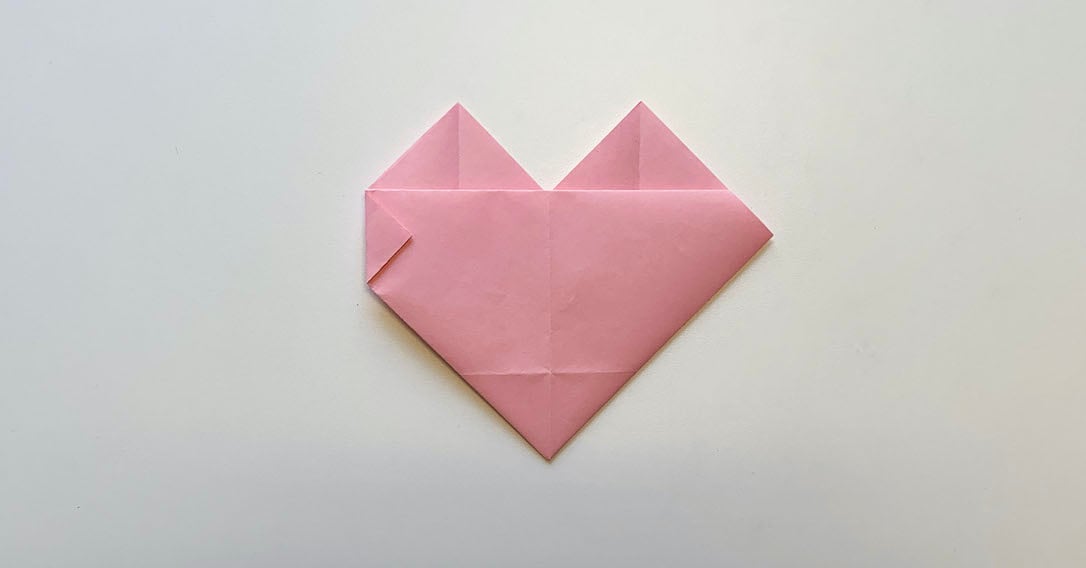
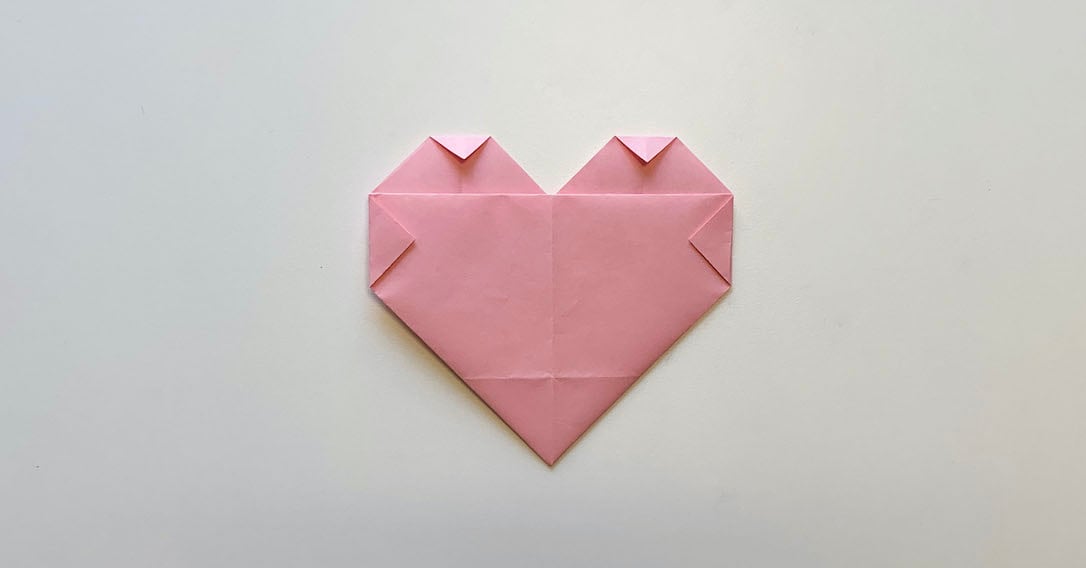
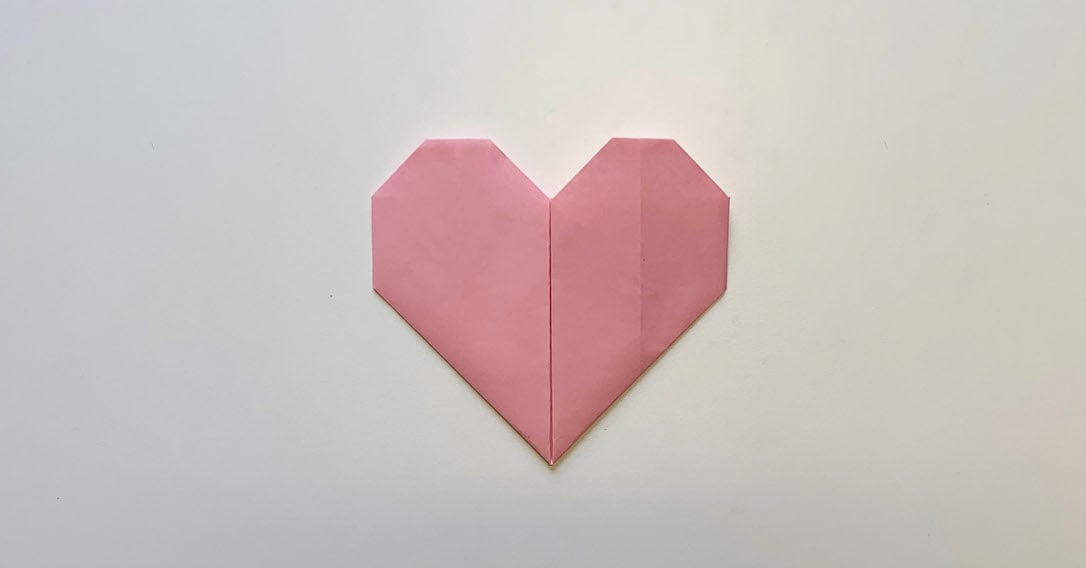
7 Flip your heart back over and voilà! Your simple origami heart is finished!
What To Do With Your Origami Hearts
1 Make a greetings card! Use glue to stick down the folded areas of the heart, this will make the back completely flat and easier to glue. Fold an A4 piece of card in half and stick the heart to the front, you’ll have a beautiful handmade card ready to send in no time!
2 Ask your child to think about what they love most in the world. Your child can then write the name of this thing on the front of the heart, unfold the heart into a square and list the reasons why they love this thing so much. Re-fold the heart and keep the secrets safe!
3 Need an extra something to fill up a party bag or gift bag? Fill it up with origami hearts to show the recipient you truly care!
Not tried toucanBox yet?
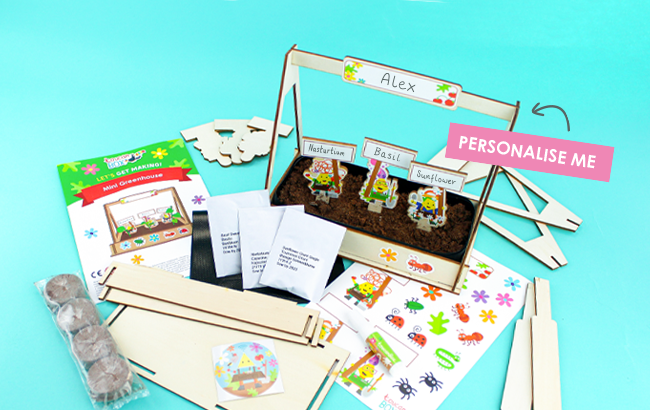
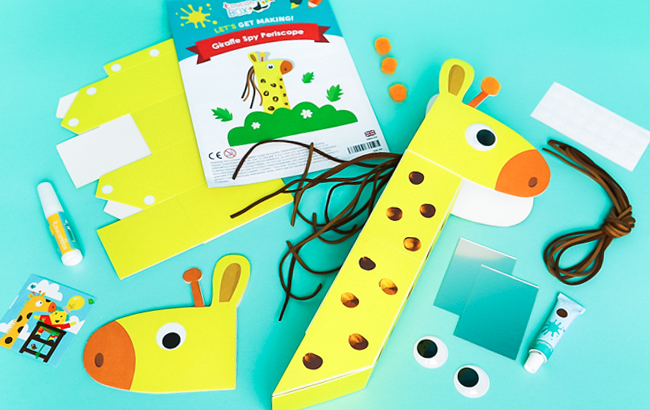
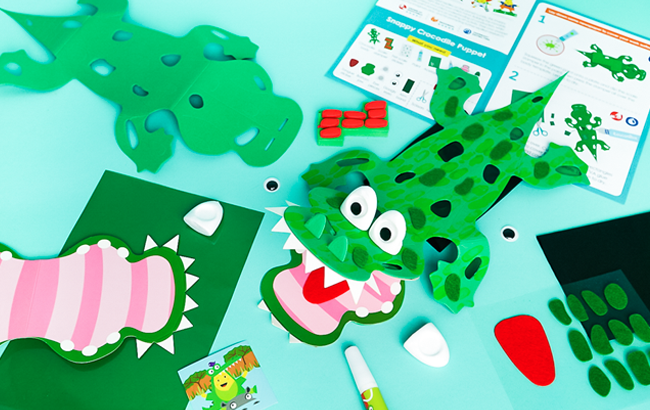
If these origami hearts have inspired you to try more awesome arts and craft activities, then give toucanBox a try! Save 50% on your first toucanBox and pick two awesome crafts to be delivered through your letterbox (plus toucanBox magazine and sticker sheet!) for just £5.95!
Each toucanBox is also personalised with your child’s name, so they will be so excited when something addressed to them personally comes through the letterbox!
Sign up today and save 50% on your first box!
HAVE FUN AND SHARE YOUR CREATIONS WITH US
We’d love to see your creations, so why not share them on Facebook, Instagram or Twitter with #toucanBox. Our favourite snaps could feature in the next issue of toucanBox Magazine!
