Easy Homemade Christmas Decorations For Kids
It’s no surprise that we love a homemade Christmas at toucanBox HQ. We have a homemade wreath hanging from our door that you can easily create yourself, cotton-ball snowmen hanging out on every desk and, thanks to our head of product Sara, a kitchen full of freshly-baked chocolatey treats. It’s great fun to spend some quality time with the kids during the run up to Christmas, making Christmas decorations for the home, create gifts to give as presents and Christmas cards to send to friends and family.
If you’re looking to get festively creative, we’ve come up with some of our favourite decoration crafts and popped them all right here. To keep things as super simple as possible we’ve only used items that you may already have lying around the house or in the craft drawer (or, cough, left over from your previous toucanBox projects). Even if you don’t have them to hand, you should be able to pick them up from your nearest stationary shop or supermarket. Scroll to the end to see the full materials list. Spoiler - have the paper plates and glitter to hand!
Alternatively, for some great gift ideas check out a fantastic homemade hot chocolate kit, and keep your eyes peeled for our homemade gift guide coming soon. And if you’re looking for some easy homemade Christmas card ideas, take some inspiration from our handprint cards.
But for decorations, you’re in the right place! Without further ado, here’s some cracking Christmas ideas:
PERFECT PAPER SNOWFLAKES
You Will Need
- White paper (square or A4)
- Paper plates
- Scissors
- Glitter glue or any decorations
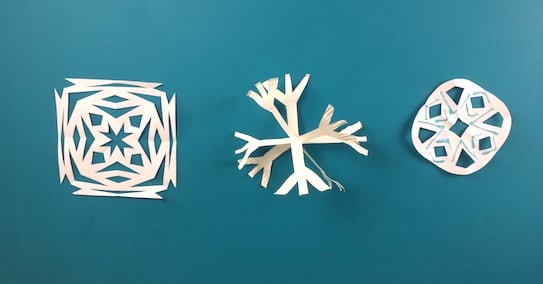
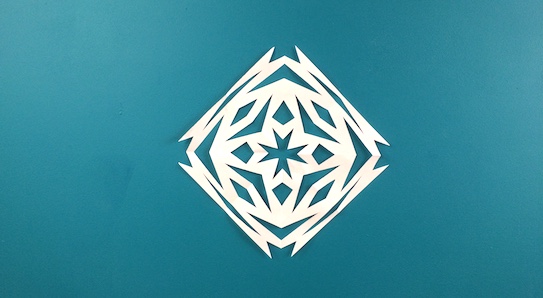
Simple paper snowflake
What To Do:
1 Take a square piece of white paper (or cut your A4 paper into a square).
2 Fold the paper in half, then quarters.
3 Now it’s time to create a snowflake pattern, and remember - no two are alike! Begin to cut patterns out of the paper. Try moving along the edge of each side of the folded paper and cut triangles. Experiment with clipping off a corner. Each time try and remember what you do so when you open it up you realise what cuts caused what effects.
4 Unfold your paper to reveal your snowflake! If you want to add more patterns then fold it back up again and make more cuts.
5 You might need extra paper to hand because this can get a bit addictive, and is great for experimenting! If it goes wrong and falls apart, don’t worry, but have a think about what cuts made that happen.
6 Once you’ve made a load of snowflakes there’s lots you can do with them: Tiny ones could be used on the fronts of Christmas cards. You could string some wool through them and create snowflake bunting, or you could make a loop and hang them from the ceiling to create a cute indoor snow scene!
Paper plate snowflake
What To Do:
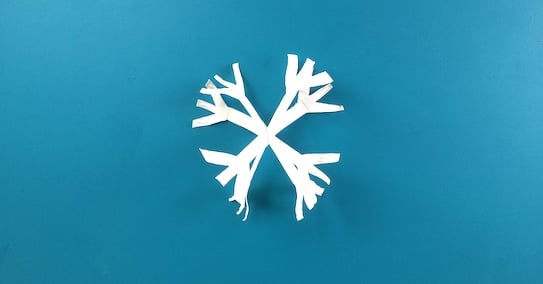
1 Cut out two ‘x’ shapes from two paper plates. Each ‘x’ should have three prongs at each end, like a bird’s foot. It’s ideal if each ‘x’ is the same size.
2 In the middle of each ‘x’ cut a slit (don’t cut all the way through!).
3 Slot the two ‘x’ pieces together to create your 3D snowflake!
4 You could hang up your snowflake from a piece of wool. Just make a hole in the middle and loop some wool through.
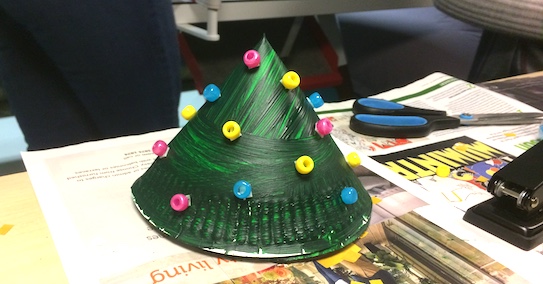
PAPER PLATE TREE
You Will Need
- Paper plate
- Green paint
- Beads
- Tape
- Glue
What To Do:
1 Mark the middle in a paper plate. Cut a straight line from the edge to the middle point.
2 Bend the paper plate into a cone. Tape in place.
3 Paint the plate green and leave to dry. Once dry, add some decorations to the tree. We went for some funky beads from our bead drawer (of course we have a bead drawer) but you could add anything you like!
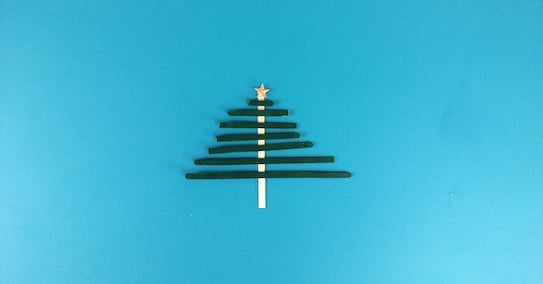
LOLLY STICK TREE
You Will Need
- Mini lolly sticks (or normal size; it’s up to you)
- Green paint
- Glue
- A star sticker
What To Do:
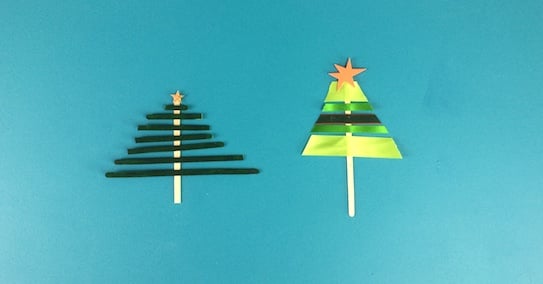
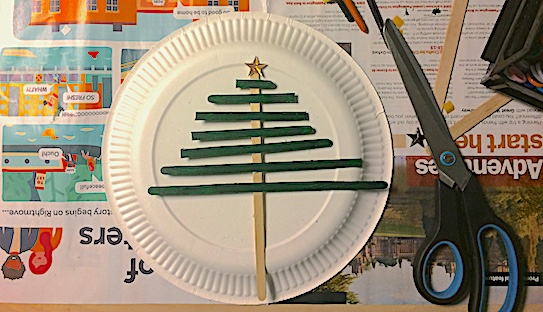
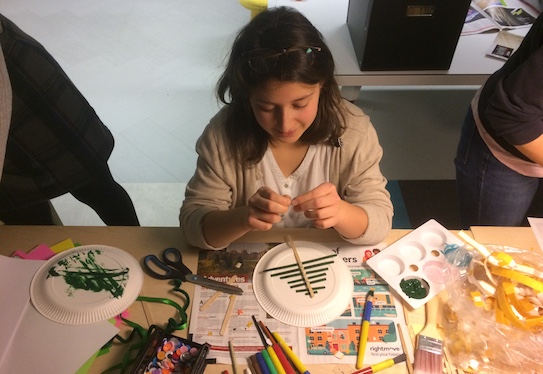
1 Paint about 4-6 lolly sticks green.
2 Cut the painted lolly sticks into different sized pieces. You’ll want to leave one stick complete, and then gradually make smaller sticks. This is where using mini lolly sticks becomes mighty handy: they’re a lot easier to cut!
3 On a solid surface, play about with the shape of your tree. Experiment with the spacing in between each stick until you get the desired effect.
4 When you’re ready to assemble, place a plain lolly stick vertically on your work surface. One by one add each horizontal lolly stick with a dot of glue. Add a little star on top to complete the look!
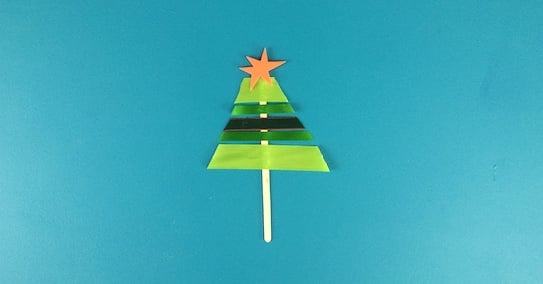
ALTERNATIVELY…
Use ribbon instead of lolly sticks to create a funky ribbon tree!
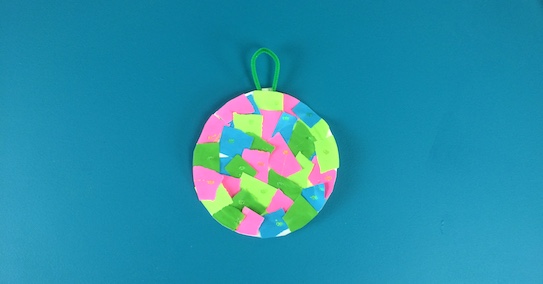
PAPER BAUBLE
You Will Need
- Paper plate
- Coloured scrap paper
- A pipe cleaner or ribbon
- Glue
What To Do:
1 Tear up coloured paper and glue them onto the paper plate. Don’t worry about the paper hanging over the edges of the plate.
2 If you’re using PVA glue, you could add a little drop of water to the glue and brush the mixture over the plate. This will help all the paper stick down and give the finish a shiny surface.
3 Cut around the plate, trimming the edge and the overhanging paper.
4 Stick a bent pipe cleaner or a small length of ribbon to the back to hang your bauble up.
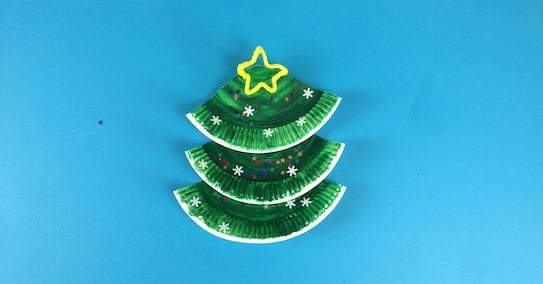
PAPER PLATE CHRISTMAS TREE
You Will Need
- Paper plate
- Green paint
- Decorations (we chose snowflake sequins and a pipe cleaner star)
- Glue
What To Do:
1 Paint a paper plate green. Add some decorations to it while wet - they should stick as the paint dries. If not you can stick them down again at the end.
2 Cut the plate into thirds, leaving you with three equal-sized pieces.
3 Glue one under the other to create a Christmas tree shape. Feel free to go mad with extra decorations!
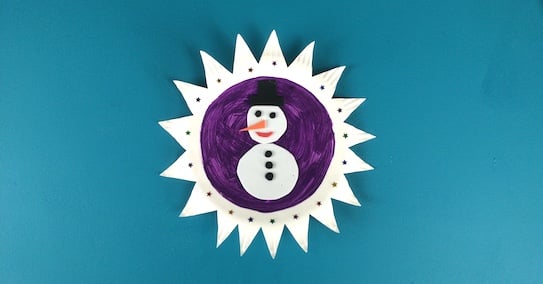
SNOWMAN SCENE
You Will Need
- Paper plate
- Star stickers
- Paint
- Glue
- Foam (white, black, orange and red)
What To Do:
1 Paint the centre of a paper plate.
2 Cut out triangles from the edge of the plate to create a cool design.
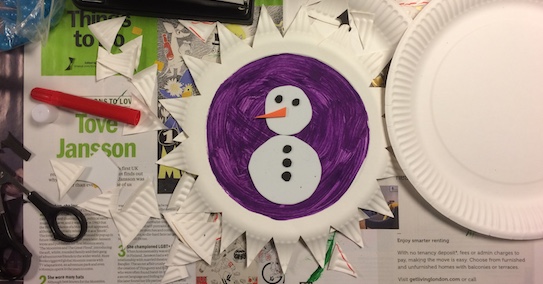
3 Cut out a snowman out of foam. We used a big circle for the body, and a smaller one for the head. Then tiny black circles to make eyes and buttons, a black square and rectangle for a snazzy top hat and, of course, a triangular carrot nose. And hey, yours doesn’t have to be a snowman. How about making a Santa out of red foam, or some brown-foam reindeers?
4 Stick your design to the centre of the plate and pop up on display!
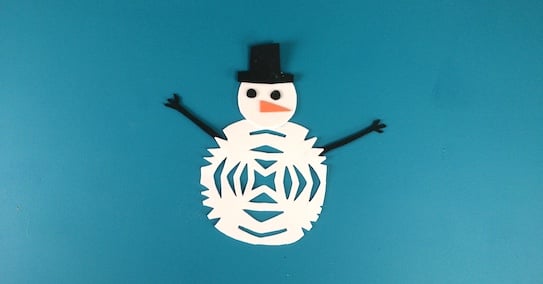
SNOWMAN SNOWFLAKE
Once you’ve mastered your snowflake-making and snowman-creating, why not combine crafts and make a cool snowflake snowman? Cool being the operative word.
SHOPPING LIST
Want to make everything here? Here’s a full shopping list of materials:
- Paper plates
- Star stickers
- Paint (green, purple)
- Glue (PVA and glue stick)
- Foam (white, black, orange and red)
- White paper
- Coloured paper
- Pipe cleaners
- Mini lolly sticks
- Green ribbon
- Beads
- Christmas sequins
SHARE YOUR CREATIONS WITH US
We’d love to see your creations, so why not share them on Facebook, Instagram or Twitter with #toucanBox. Our favourite snaps could feature in the next issue of toucanBox Magazine!
Not tried toucanBox yet?
Want craft projects, with all the materials you'll need, delivered straight to your door? Sign up today and save 50% on your first box!
Not ready to commit? Subscribe to our fun-filled weekly newsletter, jam packed with craft ideas, recipes, fun activities and more!
