How to make salt dough at home with our easy salt dough recipe
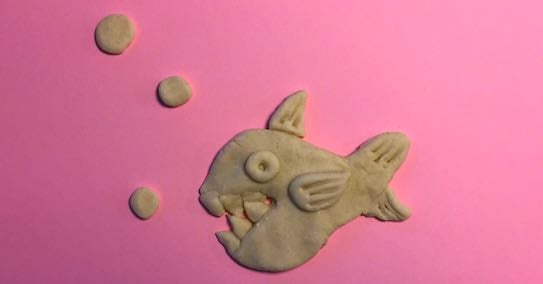
Salt dough decorations have a long tradition in the UK and many countries. Traditionally it dates back as far as ancient Egyptian times. Salt and flour were the most common ingredients, and so they began to experiment, making sculptures, trinkets and salt dough ornaments.
Salt dough is the basis of a great and easy craft session at home, allowing children to come up with all manner of creations. The ingredients for the salt dough recipe can be bought in every supermarket and they are really cheap. The dough is easy to prepare and the creations last a really long time. Once baked or dried, they can be nicely painted and used in many different ways.
No bake salt dough recipe craft session at toucanBox Headquarter
We organised a hilarious craft session at toucanBox HQ to show you some salt dough ideas for a bit of inspiration. We’ve left out doing salt dough Christmas ornaments, which is a superb use of salt dough as well. Watch out for a second page coming soon containing some amazing salt dough Christmas crafts. As we didn't have an oven handy we've just let the salt dough dry for two nights. It's been perfectly dried to paint the creations with poster paint afterwards.
How do I make salt dough? Here is the easy salt dough recipe our UK team used
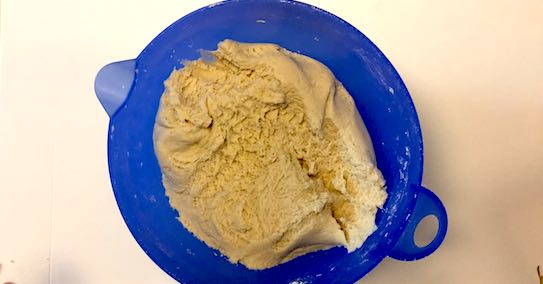
To make salt dough you just need a few ingredients, though a fair amount of each one depending on your salt dough creations plan.
The salt dough recipe
- 1 cup of salt
- 2 cups of flour
- 1 cup of water
- Optional: food colouring
Mix together salt and flour. You want a ratio of one part salt and two parts flour. For making just a few little salt dough creations with your kids, one cup salt and two cups flour should be enough. If you want to prepare more, just increase the number of cups proportionally.
1 Mix the flour and salt together, then add the same number of salt cups of water to the mixture. Depending on the flour you are using, you may need more or less water, but it’s recommended to add the water in smaller amounts.
2 Start kneading the mixture thoroughly and continue adding water until you reach a dough texture that is slightly sticky. If it’s really sticky, add in some more flour.
You can add in liquid food colouring to colour the salt dough. Some extra flour might be needed to get the consistency right.
How long to cook the salt dough creations?
Once you’ve formed your salt dough, you can cook the creations in the oven to make them set. Once baked, they will harden and can be painted and decorated after they cooled down!
The baking time for salt dough depends on the thickness of the dough. In general you need to bake the salt dough creations over two hours on a temperature no higher than 120°C. As you’re baking it keep checking your creations. Overcooking the salt dough creations could lead to bubbles or cracks.
After cooling out the salt dough creations are ready for painting.
If you don’t have an oven (like in a nursery), you can also just wait until the salt dough dries out over time. This salt dough recipe works for no bake as well. It will take a couple of days until it’s dry enough to apply paint on the crafts.
Can I microwave the salt dough?
You can microwave salt dough, but you need to be careful and only microwave it for about 10 seconds each time. This is how you can avoid to get bubbles in the dough.
Having fun painting the salt dough crafts - Poster paint works best on salt dough!
After the salt dough creations have cooled down, you and your little ones can enjoy the fun bit of painting the creations. Poster paint works best. If your kids are younger you may have or want to buy finger paint, which is easy to use for the kids and lots of fun!
Take care of tables and surfaces by covering your working area with enough newspaper before you start the painting adventure!
Keepsakes with tiny salt dough handprints or footprints
A much loved activity for kids is to create their own salt dough handprints and paint it in bright colour when it's dried. Use a plate or flat bowl and fill it with salt dough. Let your child push it's hand or foot flat into the salt dough to make a nice hand- or footprint. Leave it to dry for a night so that it shrinks a bit and can easily be removed from the plate. Afterwards you can bake it or wait until it's fully dried and ready for the fun painting bit.
Top tips for shaping salt dough
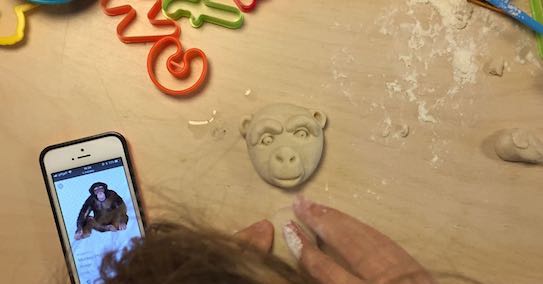
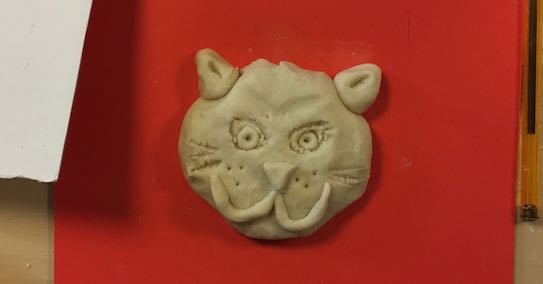
To get into the salt dough celebration, members of the toucanBox team sat down to unleash their creativity on an unsuspecting bowl of flour and salt. They drew inspiration from all manner of things, and came up with a list of top tips for making some masterpieces.
1) Rolling salt dough
Take a chunk of salt dough and roll it against your work surface to create a sausage shape.
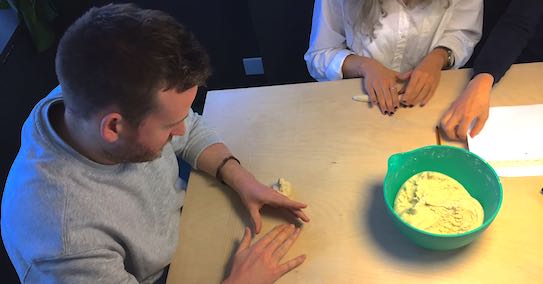
Roll it in between your fingers to make a ball. Smaller balls can sit on top of larger balls, making 3D features!
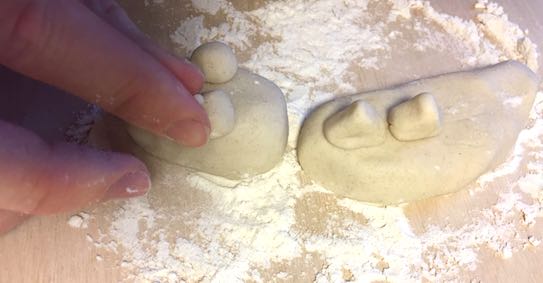
2) Add finer details to salt dough
You can use tools to make intents in the dough, creating patterns or grooves. Deeper grooves will show better after baking.
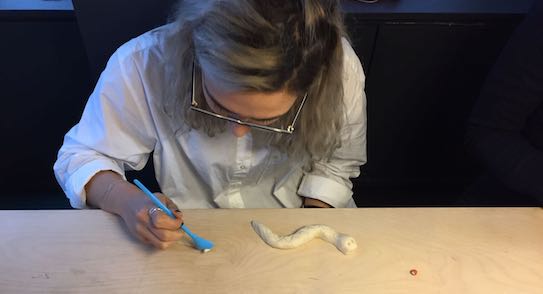
3) Keep it floured
Make sure to use flour on your work surface so your creation doesn’t get stuck!
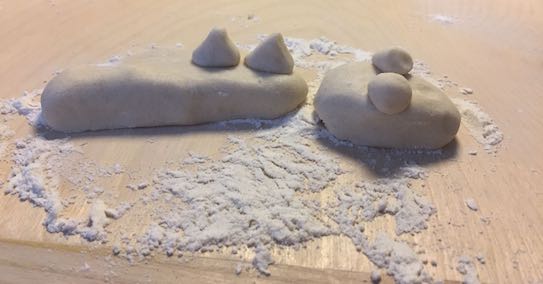
4) Cutting salt dough
You can use scissors to cut your salt dough, making straight lines or a big gaping mouth!
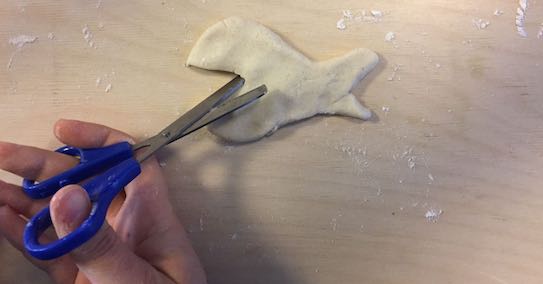
Have fun and share your creations with us!
We’d love to see your creations, so why not share them on Facebook, Instagram or Twitter with #toucanBox. Our favourite snaps could feature in the next issue of toucanBox Magazine!
Not tried toucanBox yet?
Want craft projects, with all the materials you'll need, delivered straight to your door? Sign up today and save 50% on your first box! Not ready to commit? Subscribe to our fun-filled weekly newsletter, jam packed with craft ideas, recipes, fun activities and more!
