20 Things To Do In Lockdown With Kids | toucanBox
Looking for things to do in lockdown with kids? We’ve got you.
Although some lockdowns allow kids to get back to school we know that entertaining kids indoors can be tricky.
So, we put together a list of things to do with kids in quarantine for those lockdown weekdays, weekday evenings and weekends when you’re out of ideas and in need of some help!
Fun lockdown activities for kids don’t have to cost the Earth…
We have kept our recommendations super simple. Most of the materials used in the projects below are recyclable, household items, or leftover materials from toucanBox crafts!
Why is crafting the ultimate quarantine activity?
Maybe we’re a little bit biased, but it’s true, crafting is the perfect lockdown activity for toddlers and kids! Crafting encourages your child’s imagination and creativity, focussing their minds on creating something amazing (and helping to distract them from the current situation).
Crafting is also a great way to enjoy educational fun. As your child makes and creates you’ll see how crafting can encourage their concentration, develop motor skills and prompt further research into areas of interest.
Where do I start before the lockdown creativity breaks free?
Lay down plenty of old newspaper! Although we love creative mess, we don’t like it staining our furniture!
Make sure that you and your child are covered with an apron or old item of clothing that you don’t mind getting paint splashed on.
You might want to encourage your child to pick an activity from this list. Feeling ownership of the project will encourage them to complete it and feel pride in seeing it through from start to finish! Or you can choose the project and treat your child to a surprise crafting activity.
Either way, there’s plenty of ideas to choose from. Don’t forget to show us your crafts on social media, we would love to see your creative interpretations of these projects!
Let’s get crafting with your lockdown tired little ones!
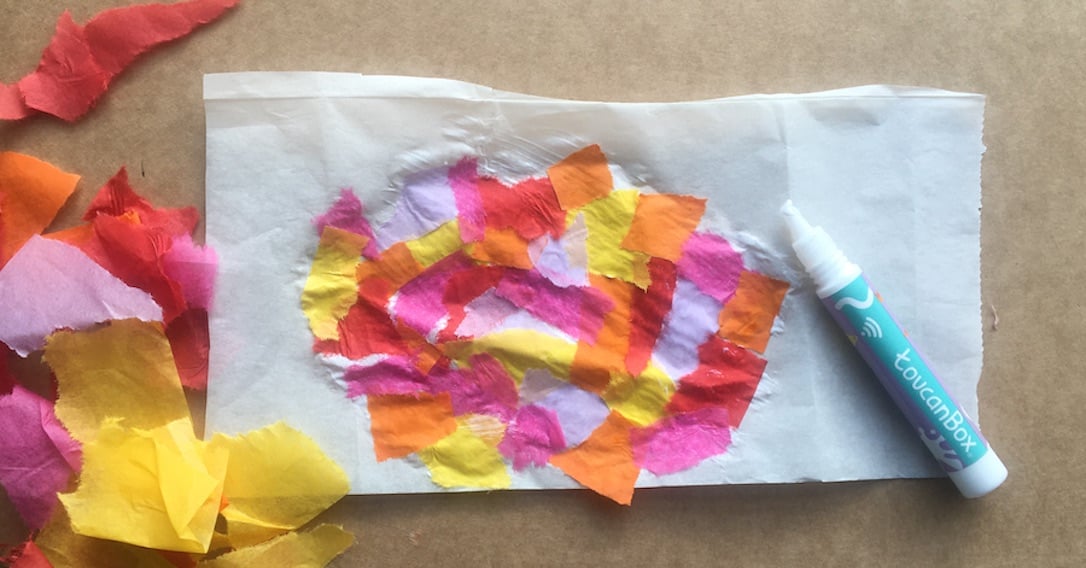
1 Tissue Paper Sun Catcher
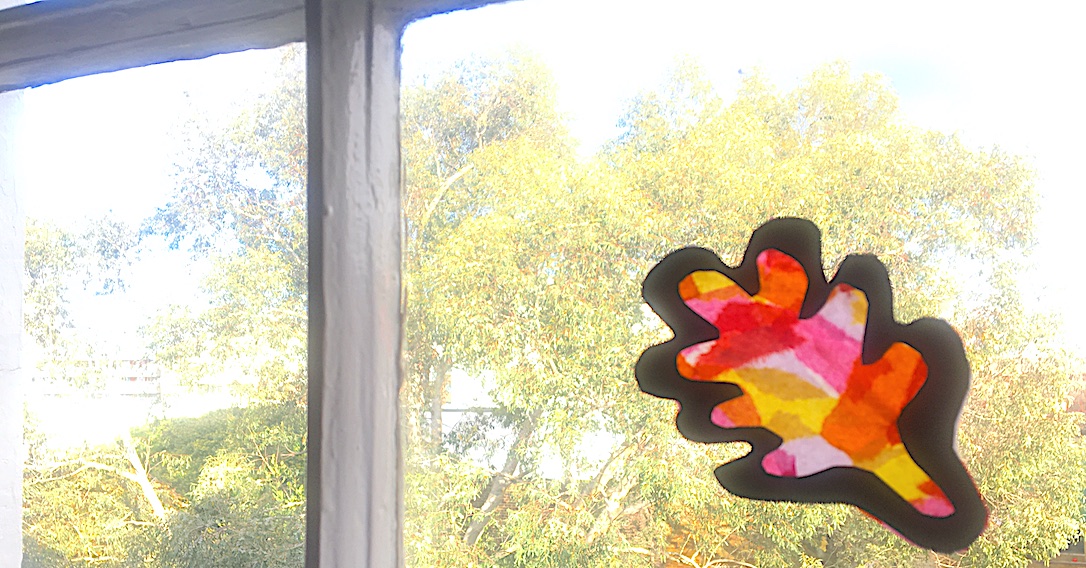
Throughout lockdown lots of us have been decorating our windows to brighten up our homes. This beautiful sun catcher craft is the perfect addition to your child’s indoor decorating!
You Will Need
- Baking paper
- Tissue paper
- Black card
- PVA glue
- Scissors
What To Do:
-
Rip the tissue paper into lots of small squares. Add glue to a sheet of baking paper and stick the tissue paper onto the baking paper.
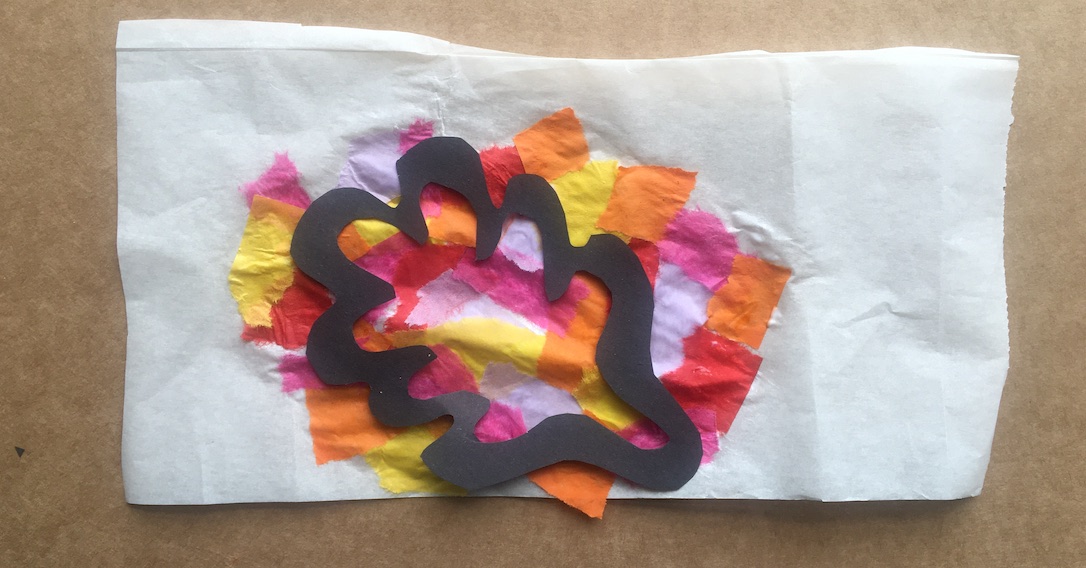
- Draw a shape on a piece of black card. Cut out the shape from the card.
- Cut around the empty shape in the card, leaving about 2cm thickness all the way around.
-
Stick the shape over the tissue paper, trimming any baking paper if necessary.
-
Display your colourful creation in the window!
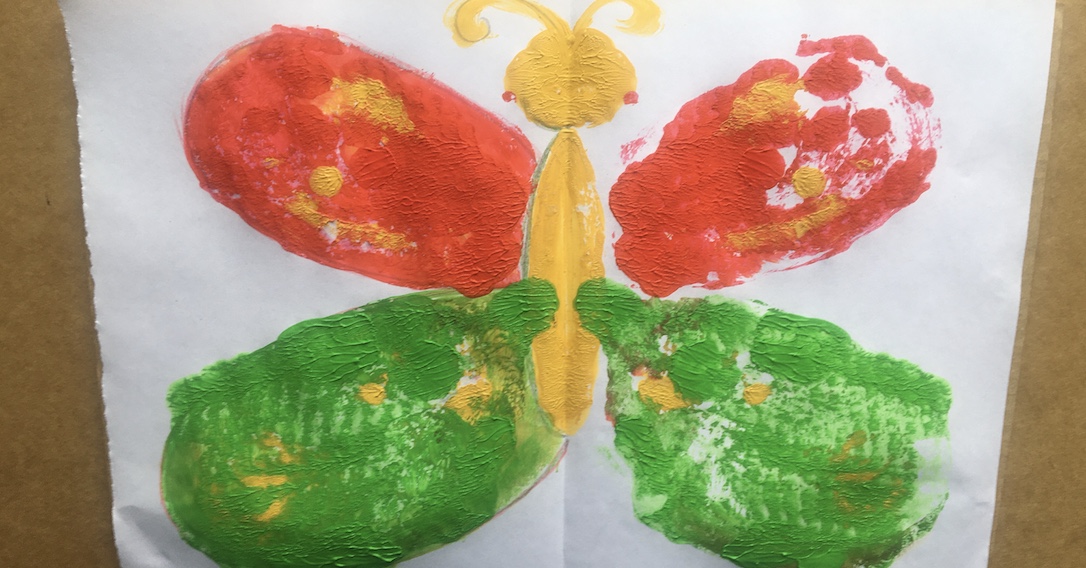
2 Butterfly Painting
This art activity is a great way to teach little ones about symmetry and prompt further discussion about the amazing life cycle of caterpillars and butterflies!
You Will Need
- Paint
- Paper
What To Do:
- Fold a sheet of paper in half. On one half draw two large butterfly wings and half of the butterfly body.
- Colour in with paint.
- Fold the paper in half whilst the paint is still wet.
-
Carefully unfold to reveal a beautiful butterfly!
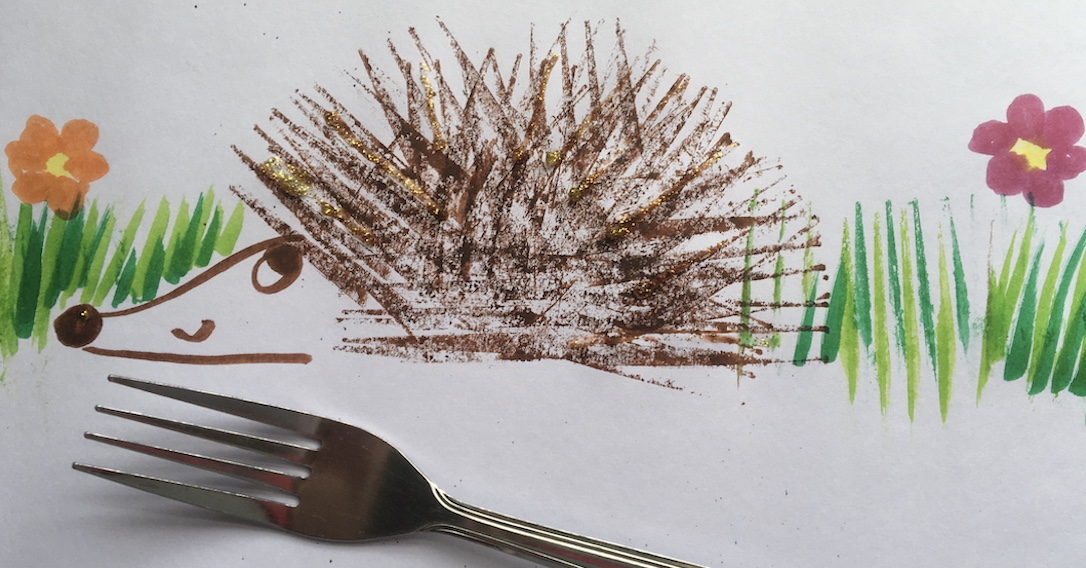
3 Fork Painting Hedgehog
Repurposing household items encourages your child to think of new ways they can make art. It teaches them to try new things and to experiment with different techniques! If your children love hedgehogs, they might like to find out more about other nocturnal animals. Check out our page about nocturnal animal facts and find some lovely nocturnal animal colouring-ins that you can print out for your little ones.
You Will Need
- Paper
- Paint
- A fork
What To Do:
- Draw the hedgehogs snout, add eyes and a nose.
- Squeeze the paint onto a plate. We used brown paint but you can use any colour you like! Rainbow hedgehogs look super cool!
-
Dip the fork into the paint and print it onto the paper. Keep printing until your hedgehog is super prickly!
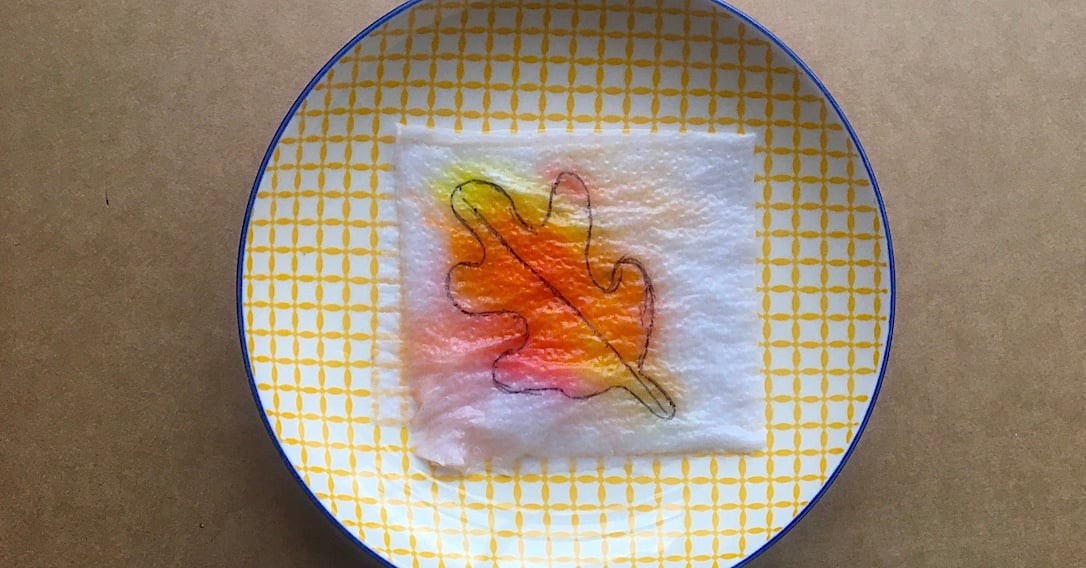
4 Kitchen Roll Crafting
Little ones love watching the colours magically appear in this simple art activity.
You Will Need
- Kitchen roll
- A ballpoint pen
- Felt tip pens
What To Do:
- Take a piece of kitchen roll and fold it into a 1/4.
- Draw a shape on the folded kitchen roll.
- Open the kitchen roll out to a 1/2 and add colour to the face that is beneath the shape. Fold the kitchen roll back to a 1/4.
- Pour a shallow level of water onto a plate or bowl.
-
Drop the kitchen roll in and marvel as the colours burst into life!
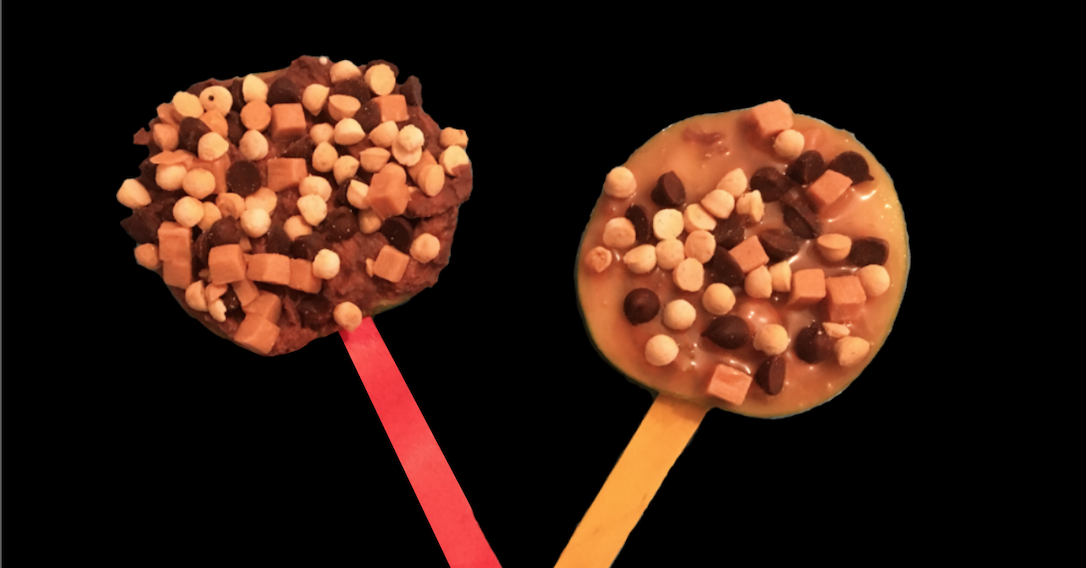
5 Toffee Apple Pops
Toffee apples are the iconic sweet treat of the Autumnal season! But little ones can struggle eating an entire apple that’s covered in rock hard toffee! This easy recipe helps you to make snack sized toffee apples that kids will love. You can find more yummy and healthy snack recipes clicking here.
You Will Need
- 2 Apples
- 8 Toffee sweets
- 1 tbsp chocolate buttons (optional)
- Sprinkles/raisins/puffed rice
- 4 Lolly sticks
What To Do:
- Melt the toffee sweets over a very low heat, stirring frequently. Adding a splash of milk helps to soften them!
- (Optional) Add some chocolate buttons for an extra indulgent treat!
- Slice the apples in half leaving out the middle slice with the core.
- Coat the exposed flesh of the apple with toffee (leave the apple skin uncovered).
- Add sprinkles, raisins or rice puffs to the toffee.
- Push a lolly stick into the apple halves.
-
Put the toffee apple pops into the freezer for 5-10 minutes to set. Then refrigerate or gobble up!
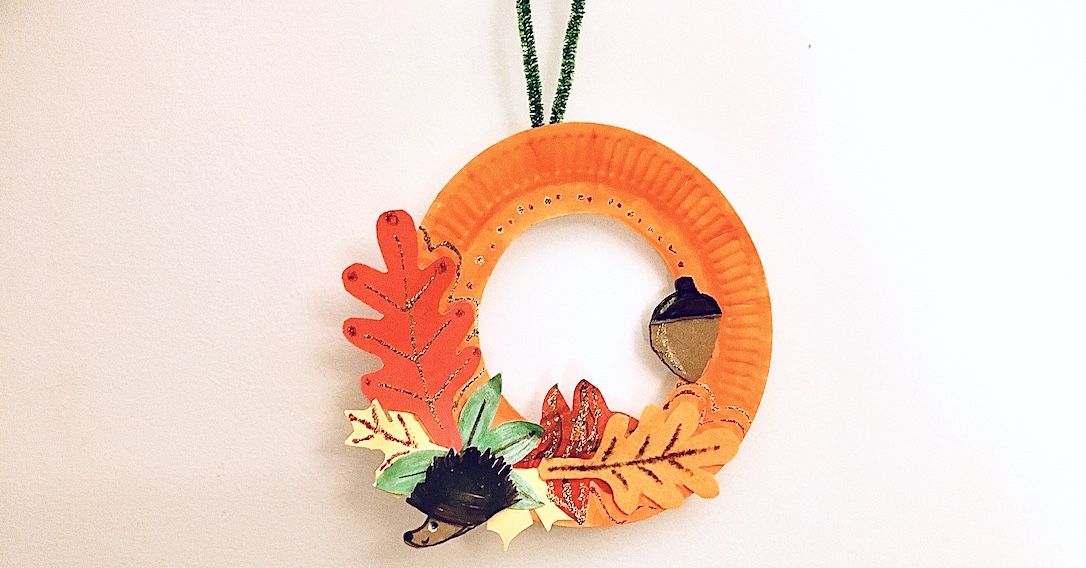
6 Paper Plate Wreath
This activity lets your little one get really creative! Make a wreath to commemorate everything that’s best about autumn…
You Will Need
- A paper plate
- Felt tip pens
- Paints
- Felt/tissue paper/cardboard etc.
What To Do:
- Cut out the middle of the paper plate.
- Colour in the outer ring of the paper plate.
- Make autumnal leaves and animals from felt, tissue paper, foam and colourful card.
-
Arrange your creations on the paper plate ring and stick down. Display your wreath inside as an amazing decoration.
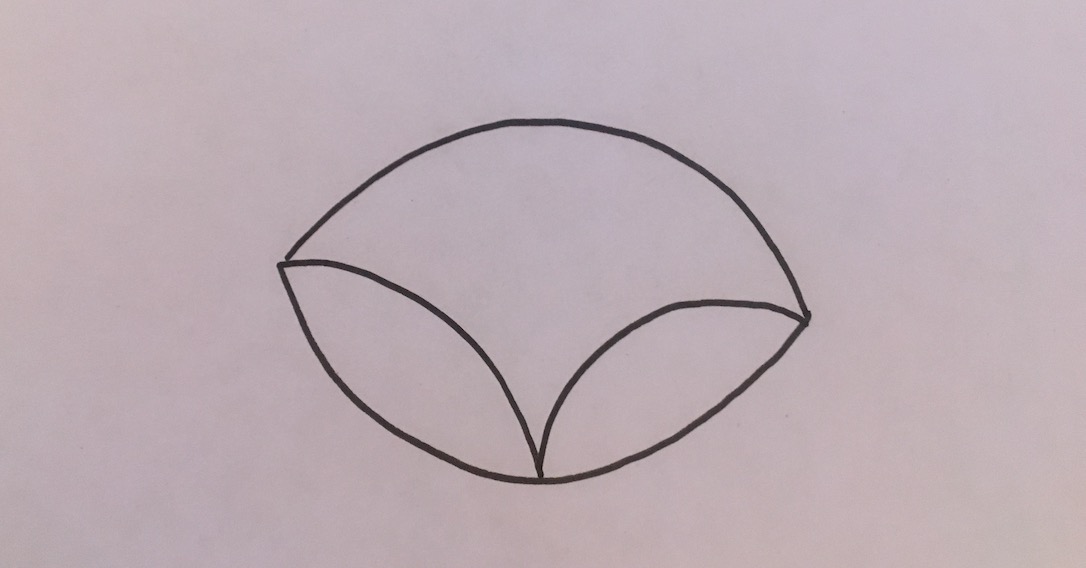
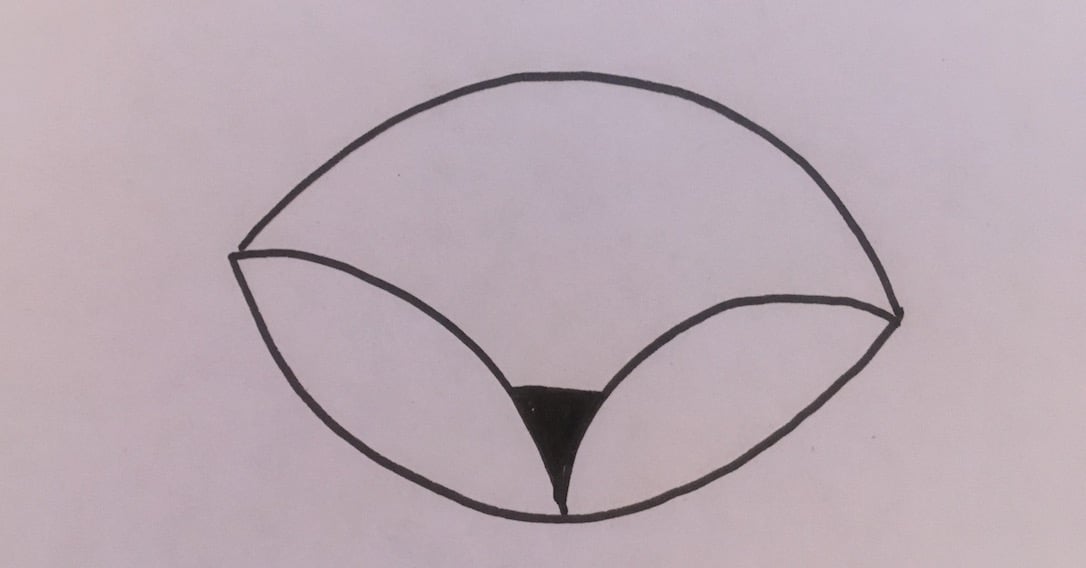
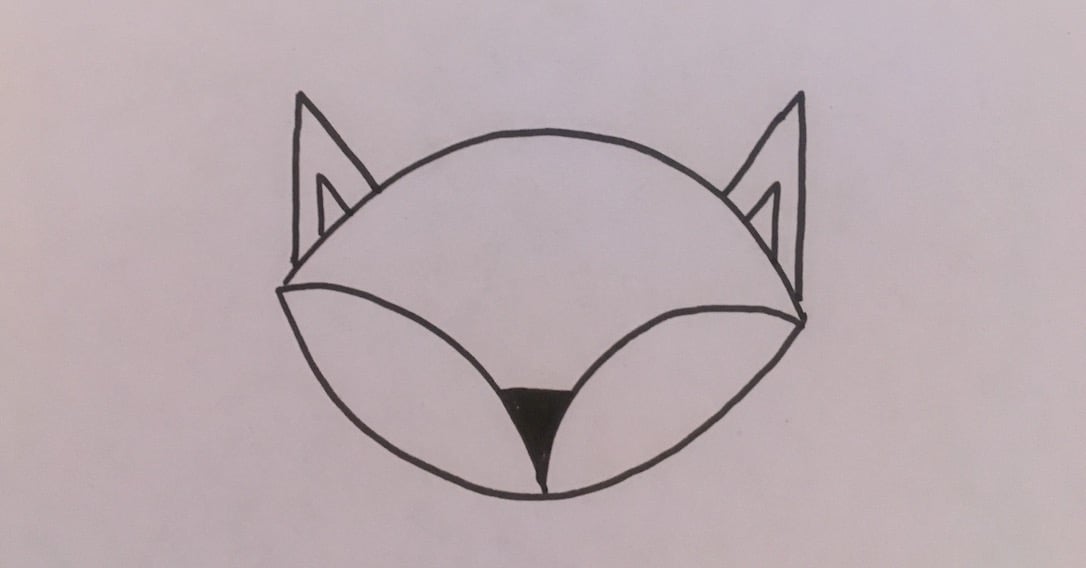
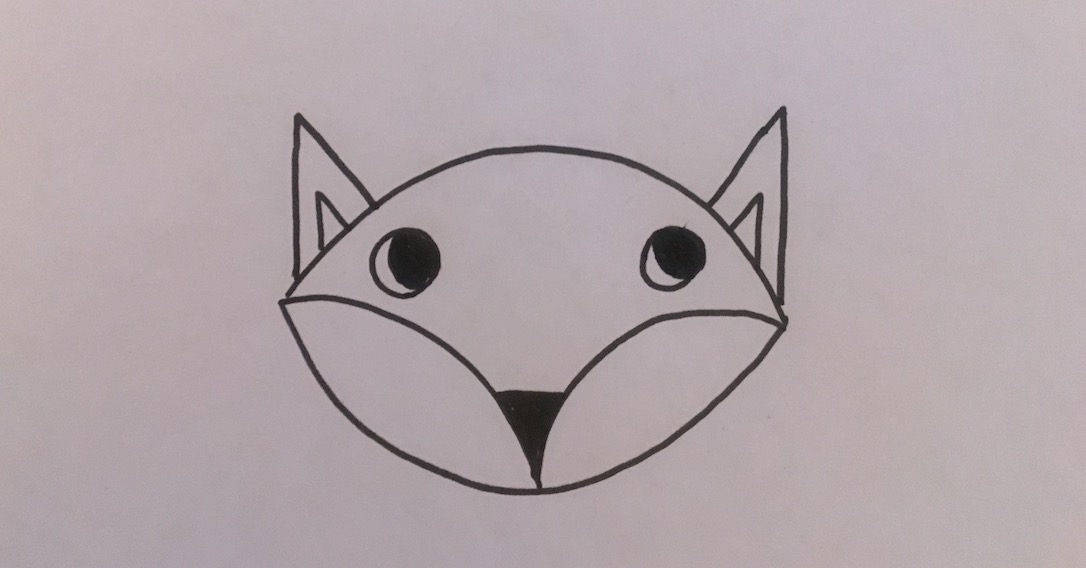
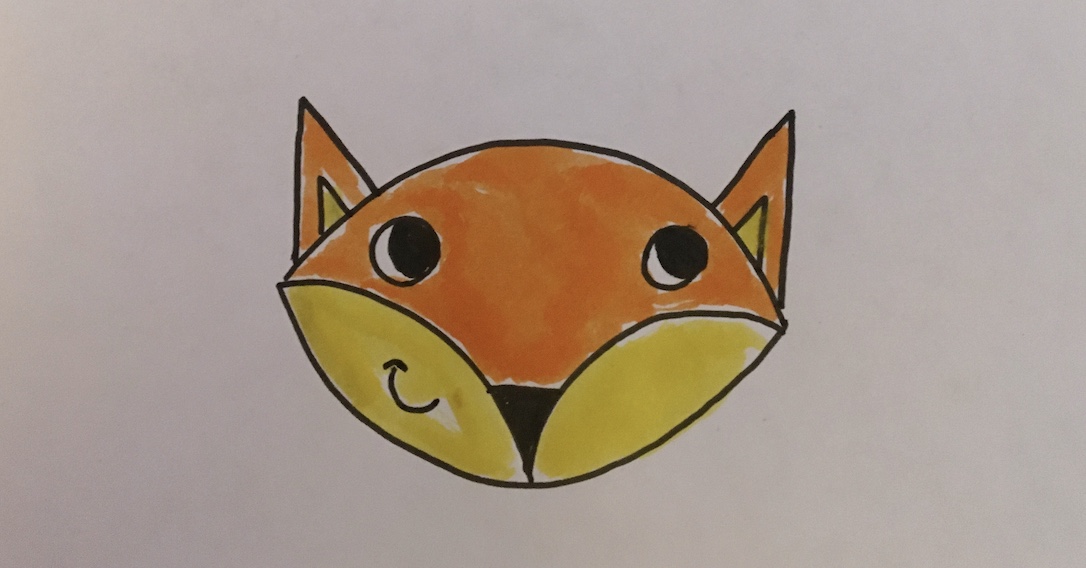
7 How To Draw A Fox
Learning to draw can be tricky for kids and adults! These simple steps show you how to draw a cute cartoon fox. This activity is ideal for children learning to draw with shapes, or for parents who want to create a colour in activity for their child.
You Will Need
- Paper
- A pen
- Felt tip pens
What To Do:
-
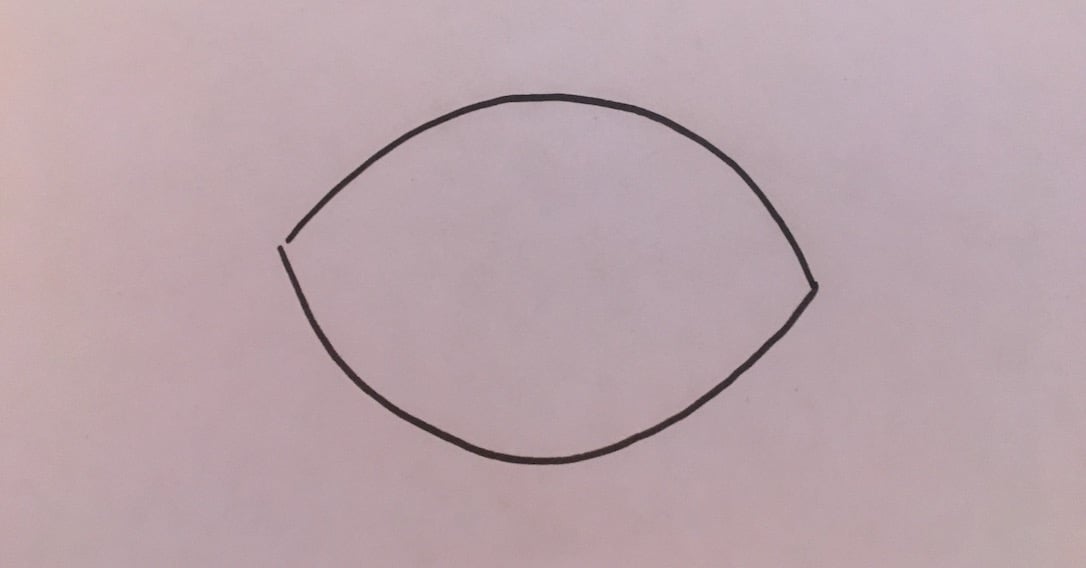
Draw a pointed oval shape.
- Add two curved lines as shown.
-
Colour in a triangle where the curved lines meet.
-
Add two triangles either side of the oval. Add two smaller triangles inside these triangles.
-
Add some eyes...
-
And finish off with a cheeky grin and some colour!
8 Dotty Painting
Art and science combine in this awesome activity! The oil pushes away colourful water so that it can’t touch the paper, leaving behind a beautiful, dotty pattern!
You Will Need
- Paper
- Oil
- Water
- Food colouring
What To Do:
- Pour a shallow level of water into a dish.
- Add a few drops of oil and a few drops of food colouring to the fish. Whisk together using a fork.
- Gently place a sheet of paper on top of the water surface. After five seconds carefully lift the paper away. Marvel at your dotty masterpiece!
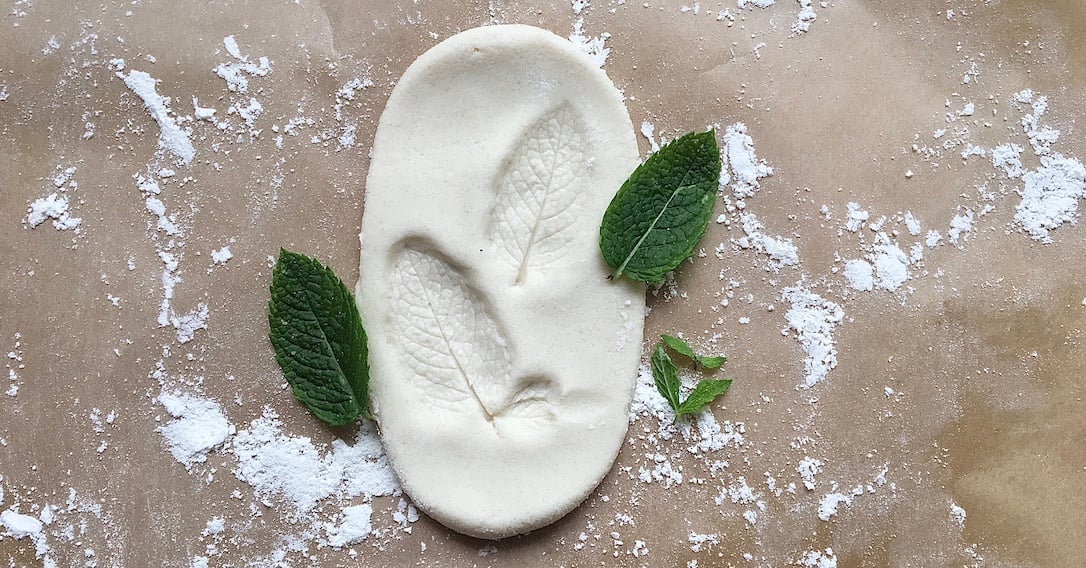
9 Salt Dough Shaping
This is a great sensory activity for kids. Just mix these simple ingredients together to make a versatile doubt they can make and create with.
You Will Need
- Flour
- Salt
- Water
What To Do:
- Combine equal parts flour and salt in a bowl. Stir teaspoons of water into the mixture until a soft, smooth dough is formed.
-
Get creative! You can make mini sculptures, hand print impressions or just have fun squishing and squashing! If you want your clay creation to set then leave it in a well ventilated room for about two days. Check out our
[salt dough activity page](https://www.toucanbox.com/activities/making-salt-dough-at-home) for some more inspiration on what to do with the salt-dough.
Find out how to make a salt dough plant impression.
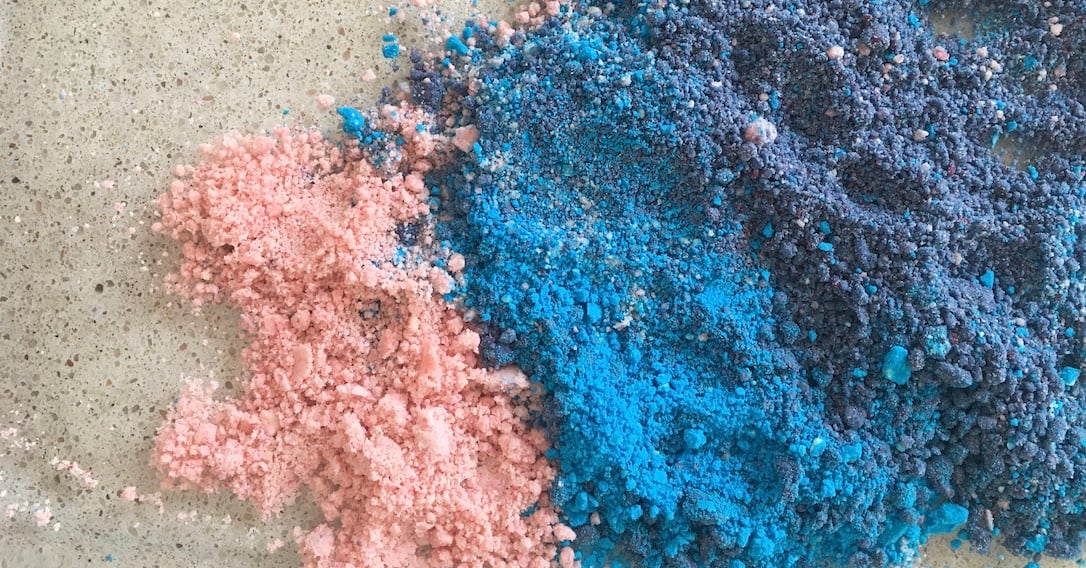
10 Sand Swirling
This is another activity that is great for sensory play. Your child will love experimenting with this simple sand. Experiment with different amounts of each ingredient, add more oil for a firmer texture (that’s perfect for making sand castles!).
You Will Need
- Cornflour
- Baking soda
- Vegetable oil (but any oil works fine)
What To Do:
- Thoroughly mix equal parts cornflour, baking soda and oil in a bowl, until you have a soft, fine grain consistency. Adding more oil will make a firmer, slightly sticky sand, whilst adding more cornflour will give you a silky-soft texture that’s perfect for finger tracing!
- Tip the sand into a tray or dish and get swirling and sculpting! You could even add a couple of drops of food colouring to make your sand nice and bright!
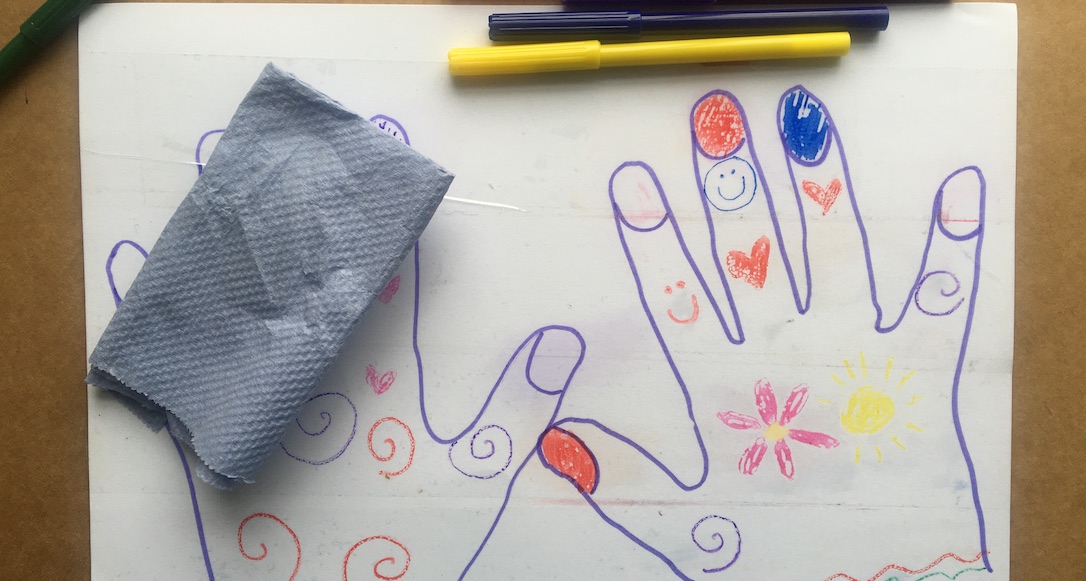
11 Wipe Away Colour In Salon
Make your colour in paper reusable with this simple hack. If a nail salon doesn’t fit the interests of your child feel free to draw a different picture for them to colour!
You Will Need
- Paper
- Clear tape
- Felt tip pens
- Kitchen roll
What To Do:
- Use a felt tip to trace both your hands on a sheet of paper. Don’t forget to add nails by drawing curves on the fingers.
- Coat the sheet of paper with clear tape.
-
Get colouring! Use felt tips as “nail varnish” and decorate the hands with pretty pictures. Make a mistake? Just wipe it away with kitchen roll and try again.
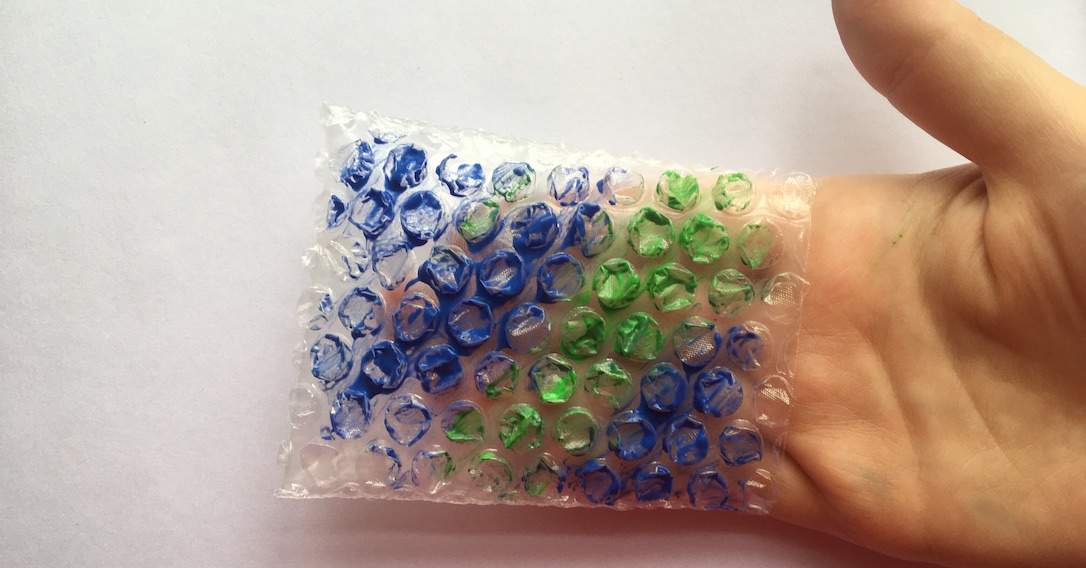
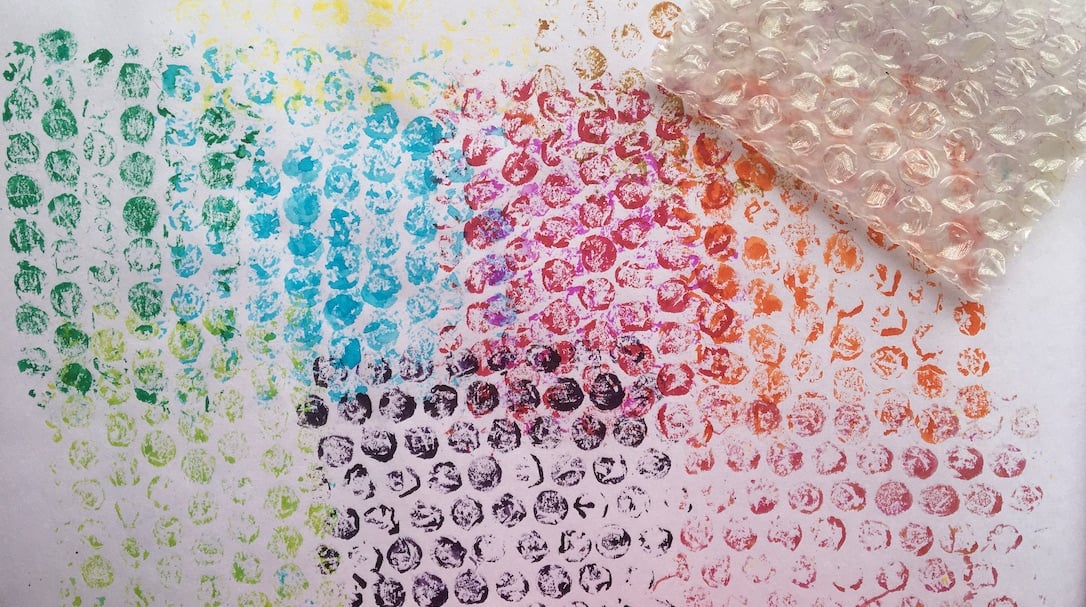
12 Bubble Wrap Glove Painting
Make amazing, dotty patterns with this simple but effective technique.
You Will Need
- Bubble wrap
- Tape
- Paint or felt tip pens
What To Do:
- Cut out a rectangle of bubble wrap that can fit around four of your child’s fingers.
- Use tape to secure the bubble wrap around their fingers.
-
Add colour to one side of the bubble wrap glove (you can use paint or felt tips).
- Stamp the bubble wrap glove on a piece of paper to make awesome patterns!
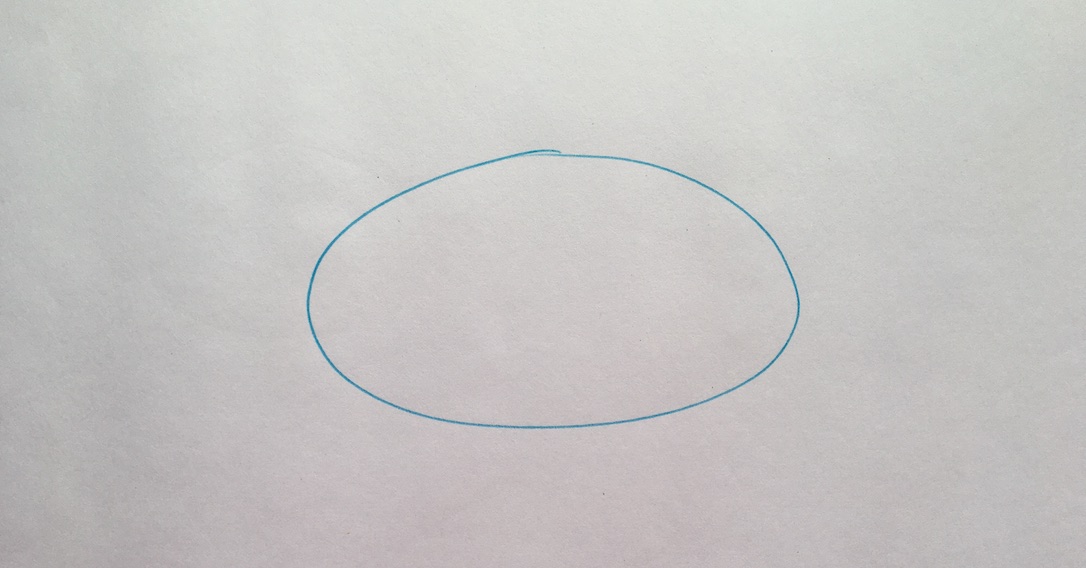
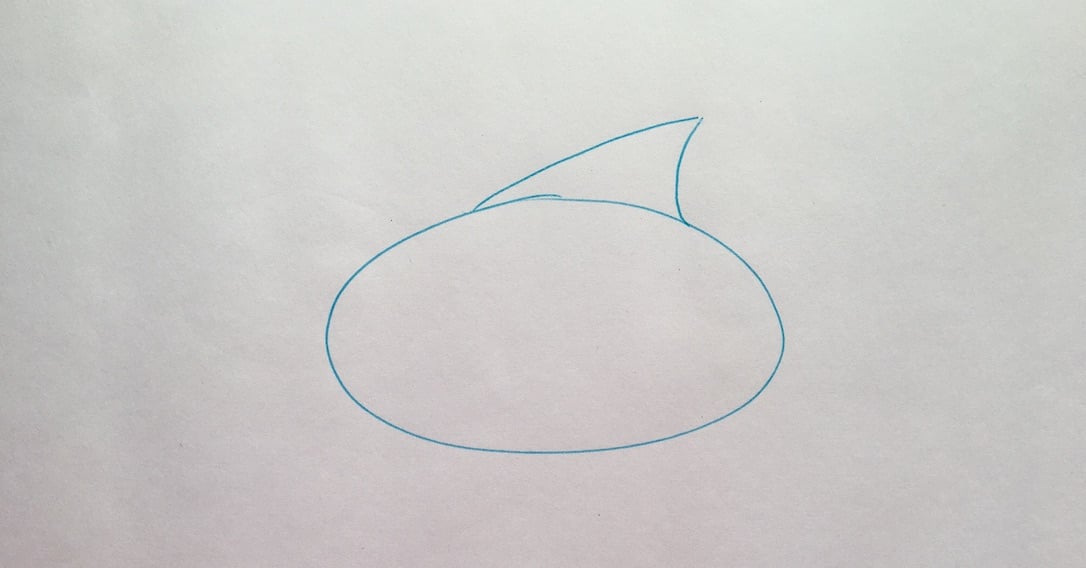
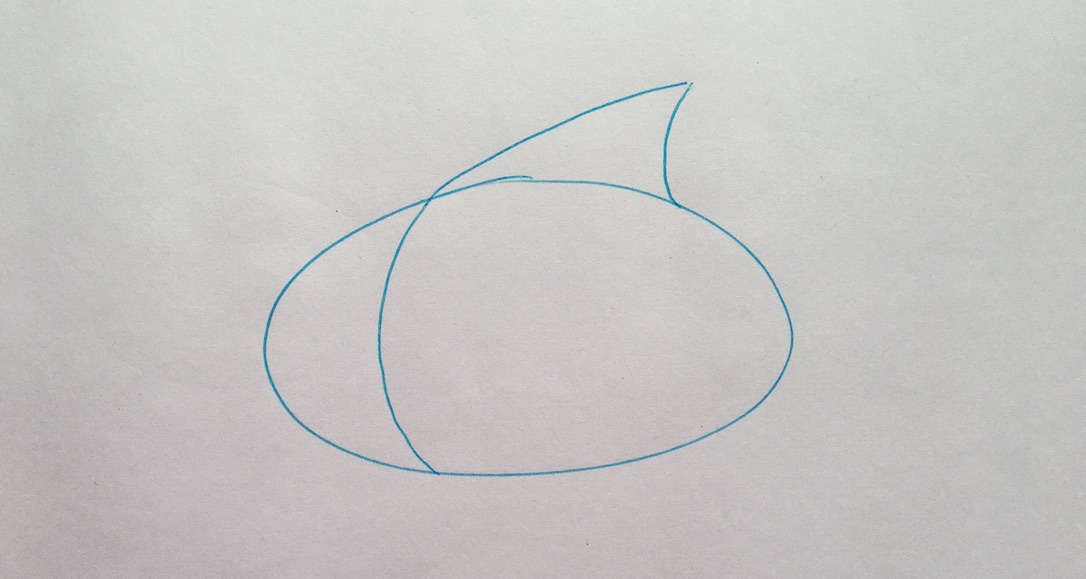
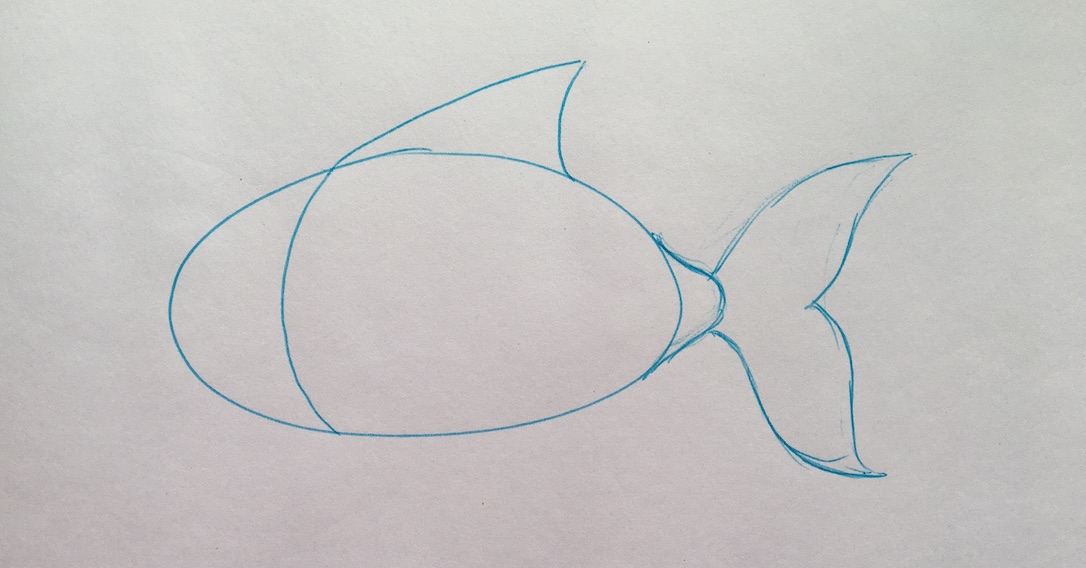
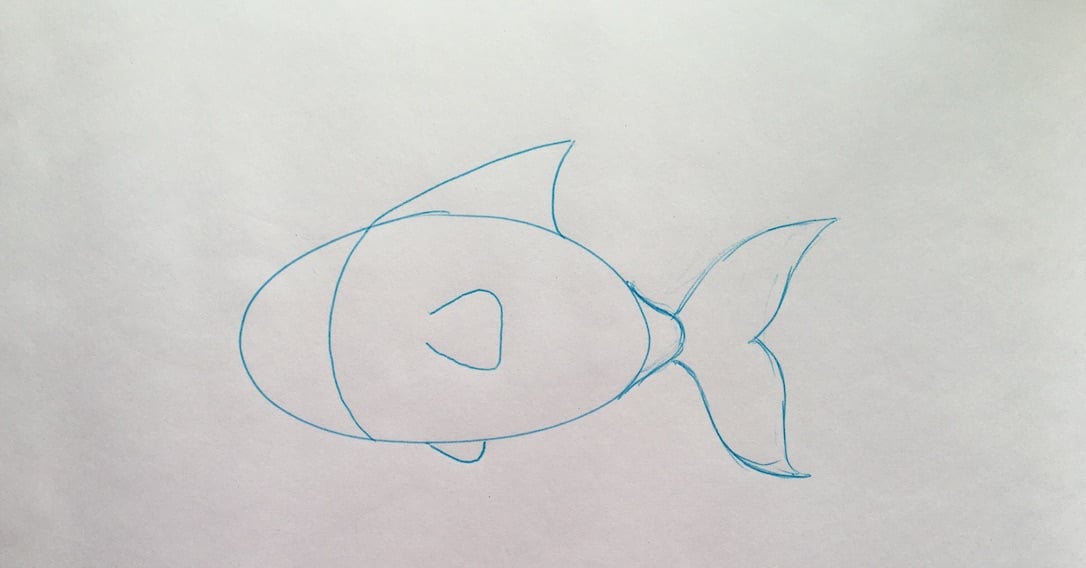
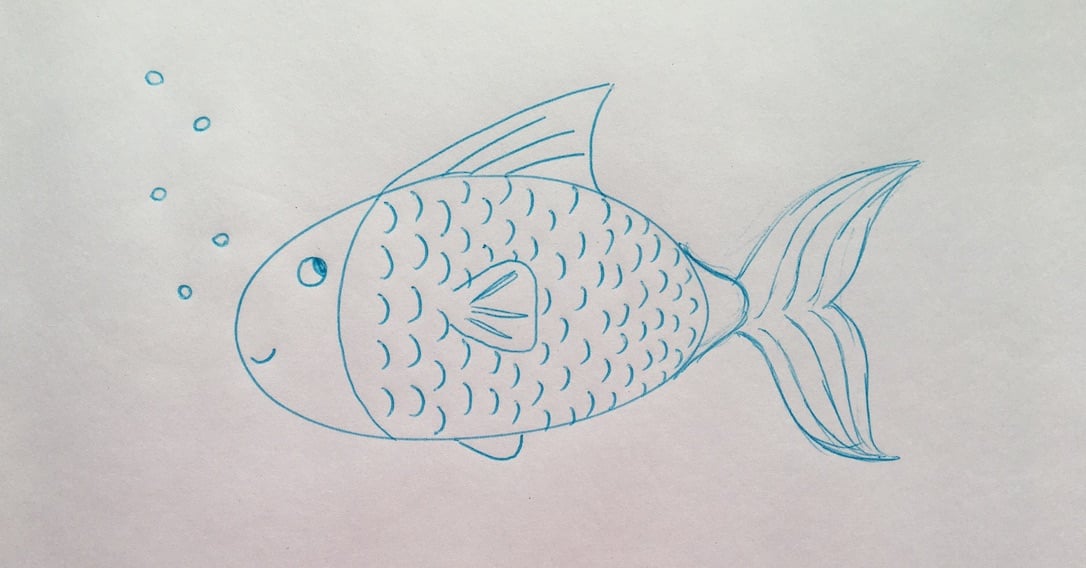
13 How To Draw A Fish
Need something to draw along with all those bubbles? Try this simple fish design, you could create its shimmering scales with the painted bubble wrap!
You Will Need
- Paper
- A pencil and eraser
- Felt tip pens
What To Do:
-
Draw an oval.
-
Draw a curved triangle on top of the oval.
-
Draw a curved line from the start of the curved triangle to the bottom of the oval.
-
Add a simple tail as shown.
-
Add a fin under the curved oval and in the middle.
-
Finish off with a smiling fishy face and scales!
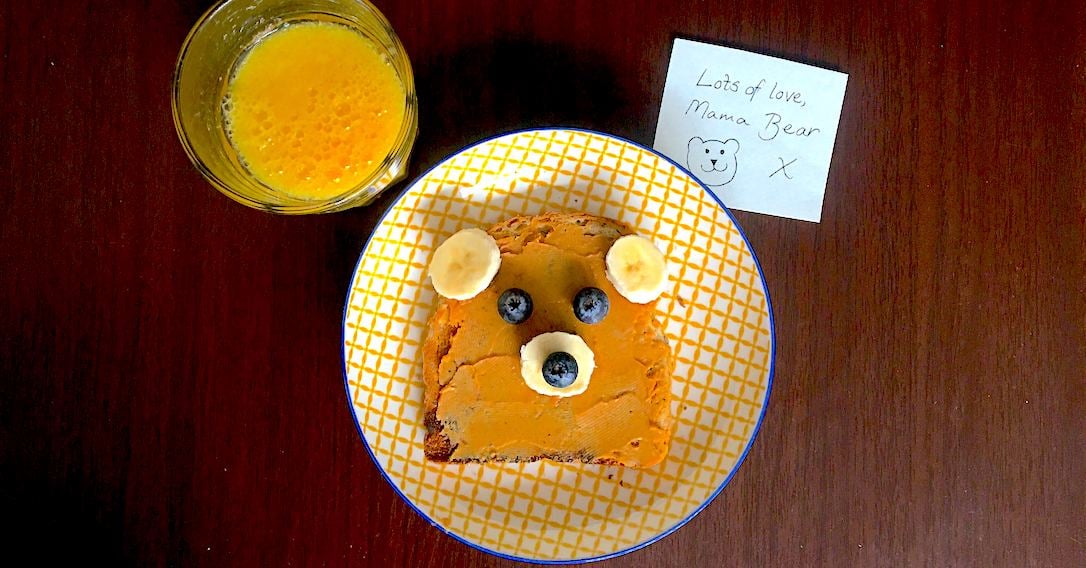
14 Edible Art!
Play with your food! Once you master peanut butter bears you’re sure to be inspired to make other edible artworks…
You Will Need
- Toast
- Peanut butter
- Bananas
- Blueberries
What To Do:
- Spread peanut butter onto a slice of toast.
- Chop a small banana. Add one banana slice to the middle of the toast and two banana slices to the top corners of the toast.
- Add two blueberry eyes and one blueberry on top of the middle banana to make a nose!
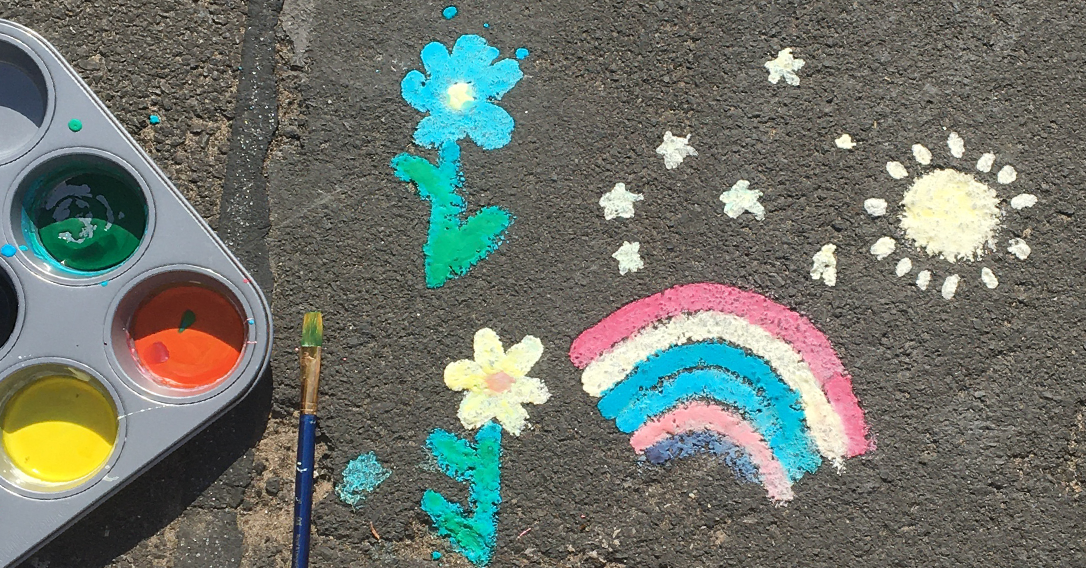
15 Chalk Painting
Make paintable chalk with these simple method! You can paint on to paper or, if you have private access to a driveway, straight onto concrete.
You Will Need
- Cornflour
- Water
- Food colouring
What To Do:
- Add two parts water to one part cornflour and mix.
- Add a drop of food colouring and mix.
-
Get painting! Use your chalk paint indoors or outdoors and wash it away with water!
16 Sponge Stampin’!
Make fun sponge stamps! This is a great activity for teaching kids about shapes and patterns.
You Will Need
- A dish sponge
- Scissors
- Lolly stick
- PVA glue
- Paint
- Paper
What To Do:
-
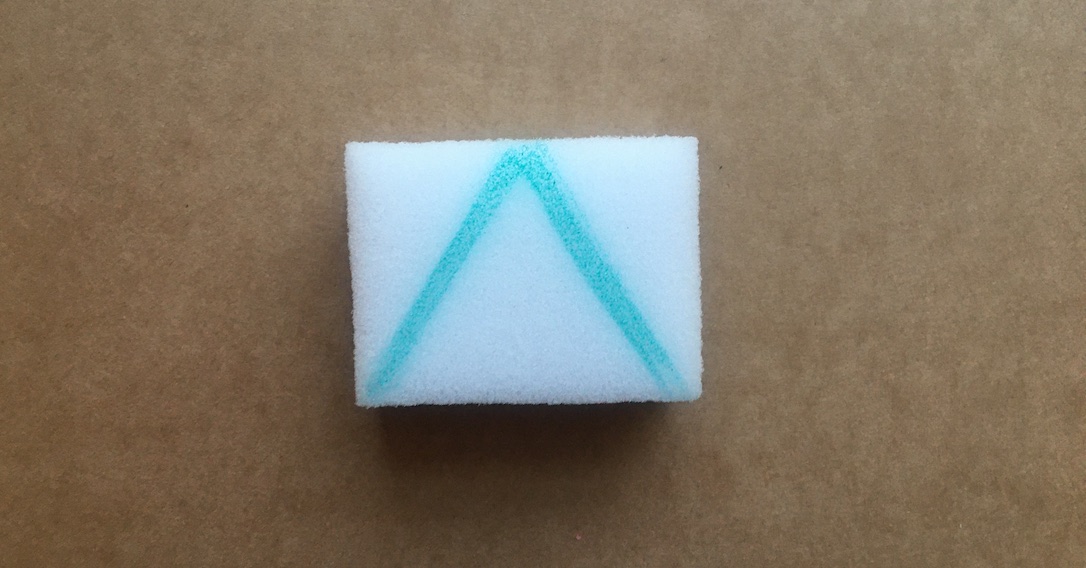
Draw a shape onto the sponge (you can use cookie cutters for super cool templates) and then cut it out.
-
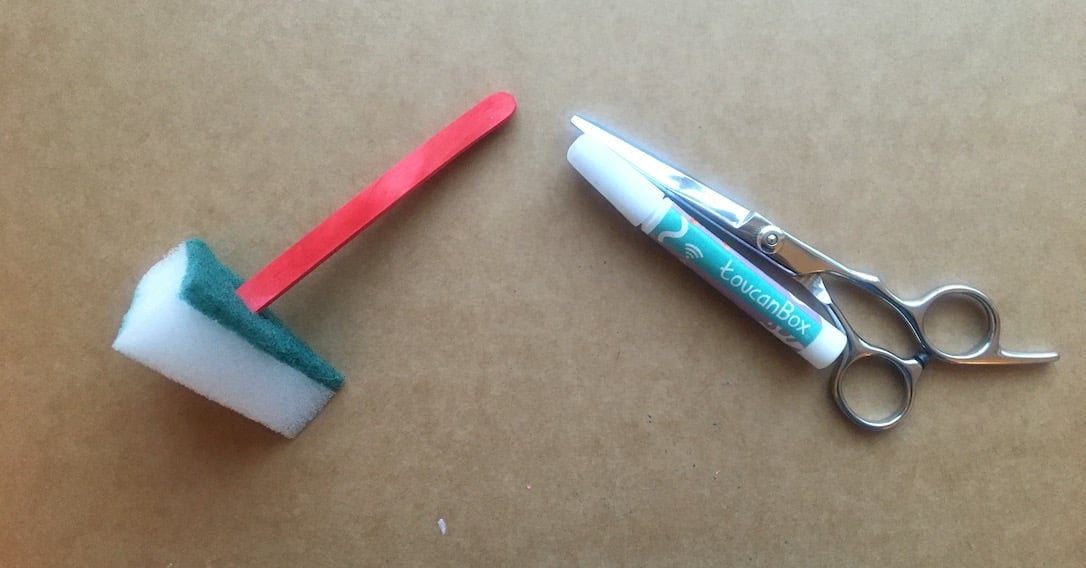
Cut a small hole in the back of the sponge and fill with PVA glue. Push a lolly stick into this hole and leave to set.
-
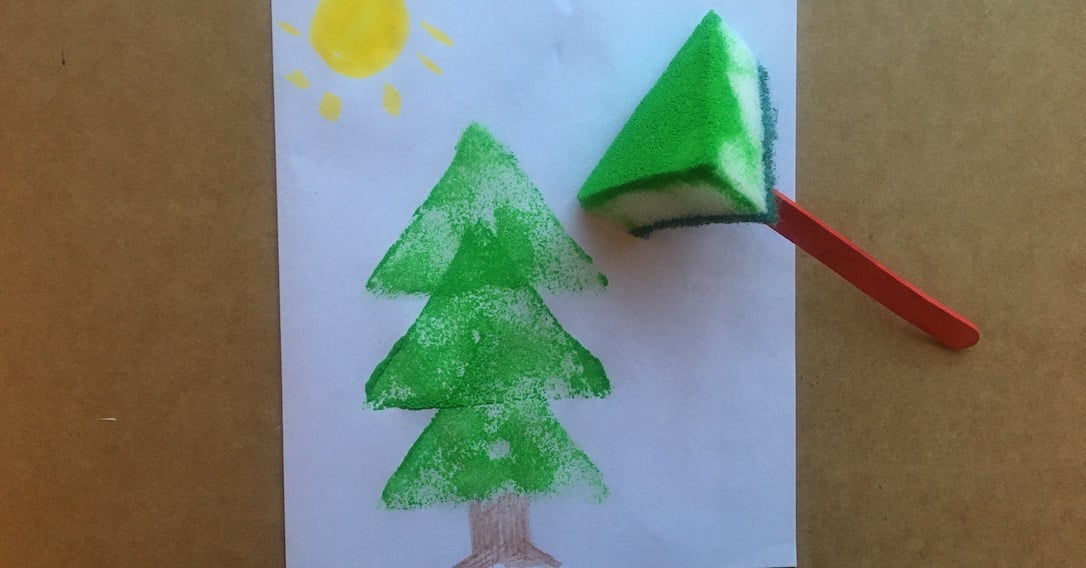
Dip the sponge into paint and get creative!
17 Hangin’ Out Sloth Pegs
This cute peg craft is easy to make and lots of fun to clip around and about the house.
You Will Need
- Brown card
- Ballpoint pen
- Paper
- Pegs
- PVA glue
What To Do:
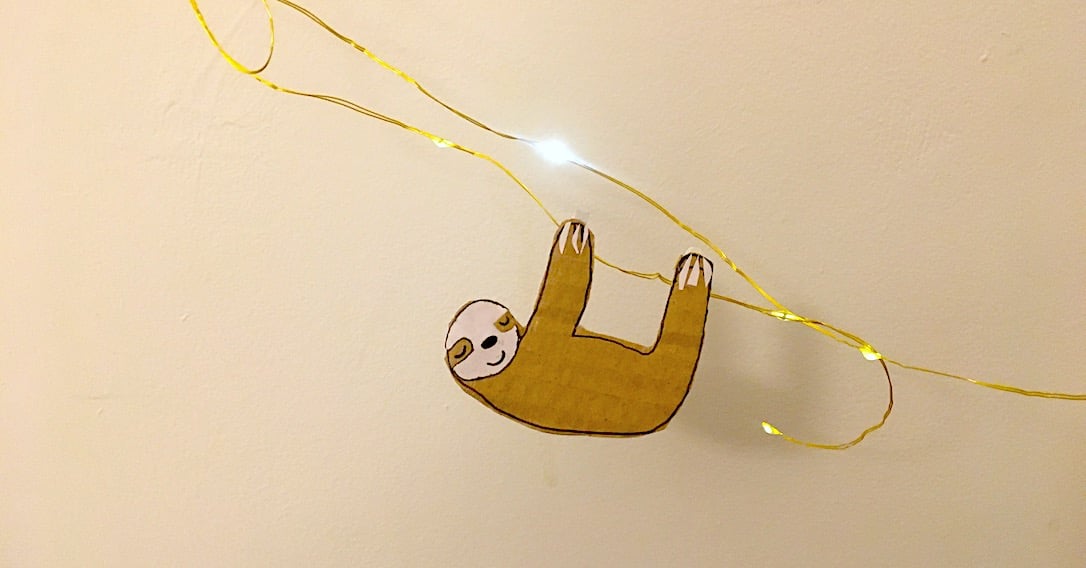
- Draw the sloth outline of a piece of brown card. The easiest way to draw it is to imagine drawing the letter E without the middle line and with a little round head!
- Cut out the cardboard shape and glue white paper to the face for the mouth and nose. Draw the eyes on the brown card.
- Glue small strips of white paper to make the sloth’s hands.
- Glue two pegs to the back of the sloth’s hands and leave to dry.
-
Once dry clip your sloth around the house!
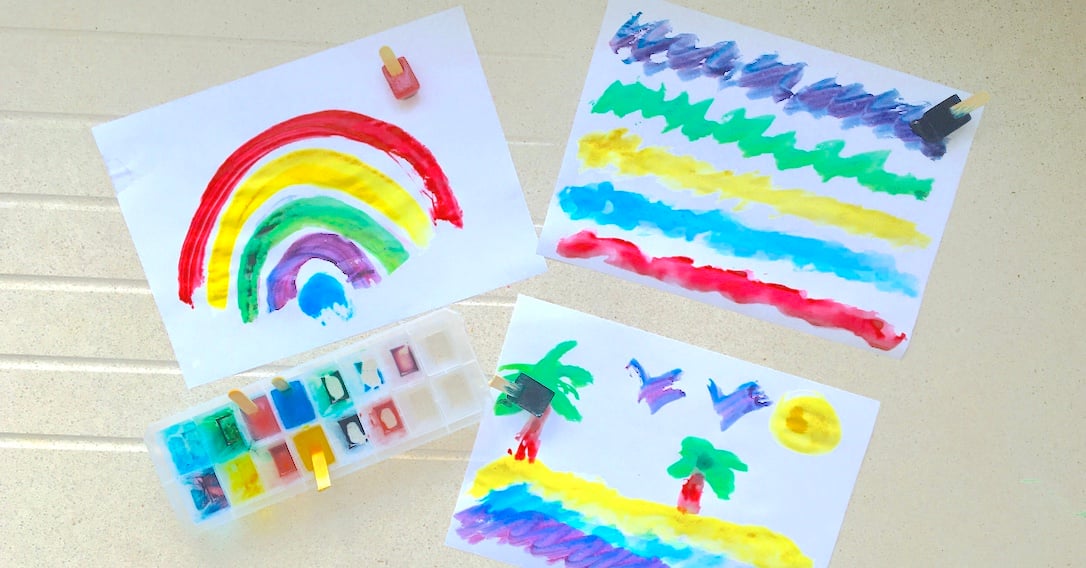
18 Ice Cube Painting
These ice cubes melt into something truly amazing! Experiment with colour mixing and see how liquid changes to a solid (and back again!) in this icy activity.
You Will Need
- Ice cube tray
- Food colouring
- Lolly sticks
- Paper
What To Do:
- Fill an ice cube tray with water. Add a drop of food colouring to each compartment.
- Add a lolly stick to each compartment and put in the freezer.
-
Once frozen, glide the ice cubes over paper and marvel at the amazing colours!
19 Space Cadet Colour In!
Sometimes you don’t have the time or energy to unpack the entire crafting crate! For those days; just print out our space cadet colour in, grab the colouring pencils and go.
Download Space Cadet Colour In
20 Cotton Tip Creations
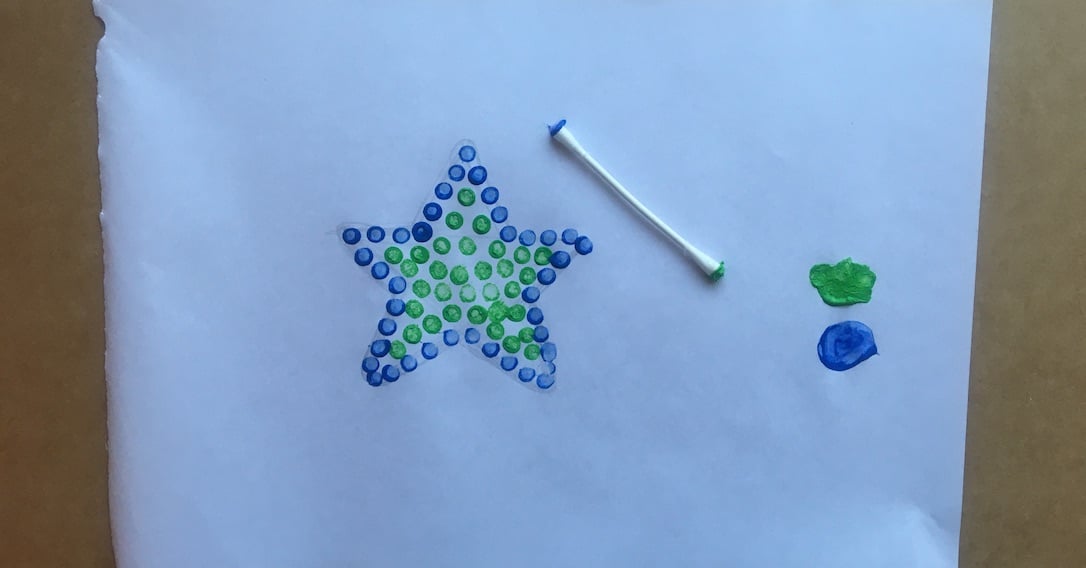
Introduce kids to pointillism (art made up of lots of little dots) with this cotton tip trick!
You Will Need
- Cotton tips
- Paint
- Paper
What To Do:
- Squeeze paint onto a plate.
-
Dip the cotton tip into the paint and start dotting it all over the paper! There’s no end to the amazing things you could make...
Need more lockdown activities for kids?
No problem! Check out the rest of our blog for awesome crafting ideas and arty inspiration.
Read our blog post for further inspiration on fun things to do at home with the kids.
Or you check out our recommendations for things to do with the kids near you. Pick out your favourite lockdown-friendly activities from our list and get going!
Not tried toucanBox yet?
Each toucanBox is also personalised with your child’s name, so they will be so excited when something addressed to them personally comes through the letterbox!
Sign up today and save 50% on your first box!
Not ready to commit? Subscribe to our fun-filled weekly newsletter, jam packed with craft ideas, recipes, fun activities and more!
SHARE YOUR CREATIONS WITH US
We’d love to see your creations, so why not share them on Facebook, Instagram or Twitter with #toucanBox. Our favourite snaps could feature in the next issue of toucanBox Magazine!
